Showing posts with label For the Boys. Show all posts

8.12.2011

For the Hubs


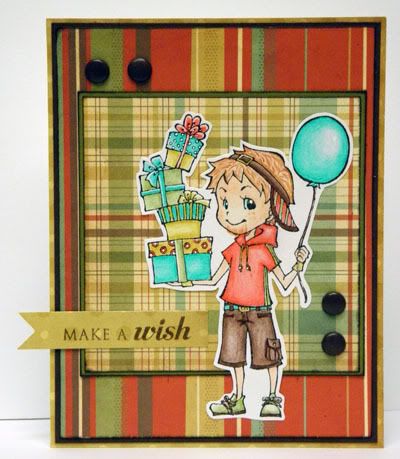
Paul's birthday was on Monday and we surprised him with some fun homemade banners, lemon cream-cheese cake, and gifts. These were my crafty creations for his day. Of course I had to make him a card. And I couldn't help but use birthday Josh. The girls demanded daddy have a goatee on his card so I did my best to replicate his face fuzz. Paul loved it, lol! Apple also wanted daddy to have his blue eyes so I added a very slight blue line next to the pupil. There isn't much room there to do that, but I think it turned out quite well ;)


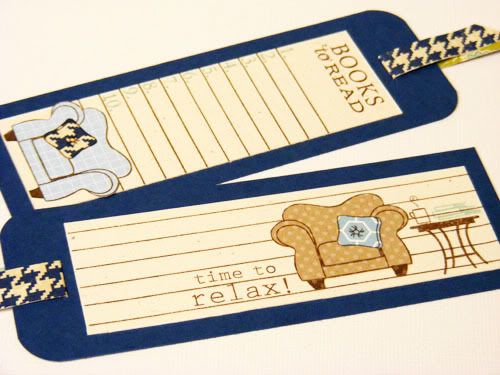
My dear hubby is an avid reader like myself and I had found a bunch of thrift books right up his alley. The classics 20,000 Leagues Under the Sea and Treasure Island, both of which he hasn't read surprisingly, plus a bunch of 'literature' mini books on classic poetry and myths, just like some of his other lit books he kept from his classes in college. I know that sounds completely boring to most people, myself included ha! But he loves that stuff ;) So I made a new bookmark for him (he's great at losing those) for his new reads and a bookmark for his other project that I made...
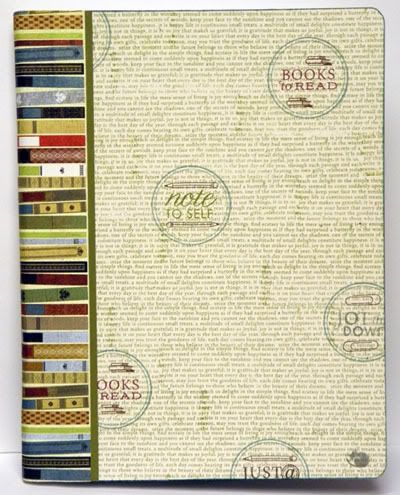


... A book journal! He's been talking about keeping track of his reads better and so I took a composition notebook and covered it. I also covered the inside panels to have a little folder spot for him to slip stuff in. Then for the first half of the book I organized the pages, putting prompts for his book entries (Title, Author, Date, Rating, Plot, and Thoughts) along with list sections for what books he wants to read, favorites, etc. Because he loves writing as well I put in some fun poetry prompts for him and writing challenges. After seeing how cool his turned out, I'm itching to make one for myself! Especially since most of my summer has been spent reading rather than crafting, hehe. Anyway, thanks for stopping by and I hope y'all have a great weekend!

6.19.2011

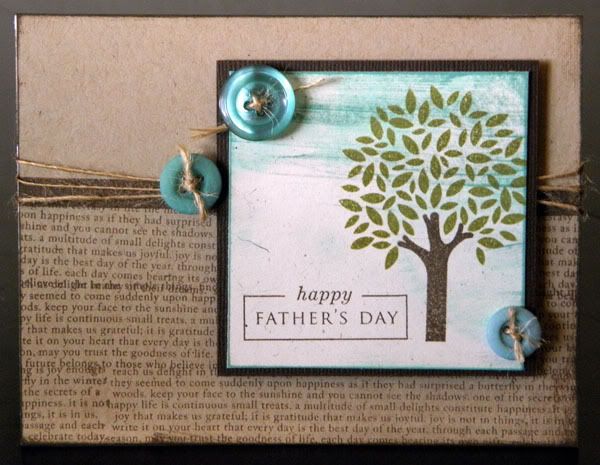
Happy Father's Day


Just a quickie post of my simple Dad's Day card for Paul ;) Since he's sick with the flu we're just having a laid-back, quiet day for him. Hope you are all having a wonderful Father's Day with the men in your lives!

2.12.2011

Sammified B-Day Josh


We've had such a busy week, so I've been playing catch-up all weekend. One of these things was to make a b-day card for our BIL, Sam. So using the sketch challenge at Sparkle Creations, I whipped up this card during our complex's kids club Valentine activity. The girls made cute Valentines and I made a b-day card ;) After seeing a few different looks on the soft colored hair style, I thought I'd try it out. After I was done I just felt like his hair was missing something, so I added highlights with the white gel pen. It was fun to color his hair differently than I'm used to. I'll definitely try the soft look again sometime, maybe I'll get it looking right enough to leave out the highlights. Anyway, enjoy the card and have a wonderful weekend!
6.20.2010

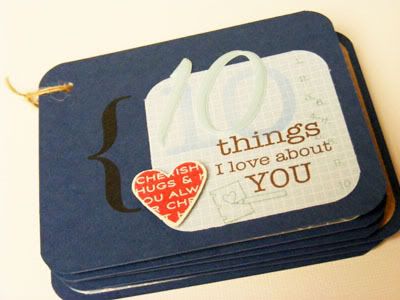
10 Things Mini Book and Some Bookmarks


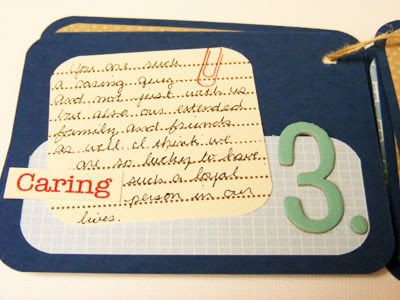
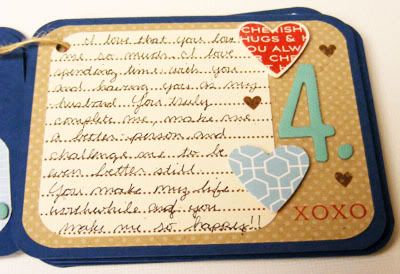
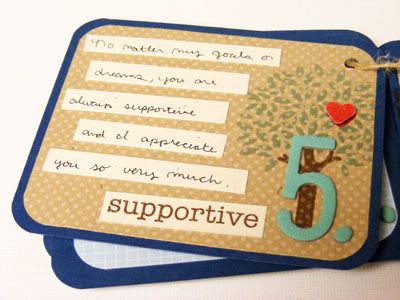
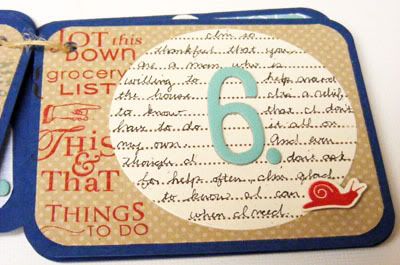
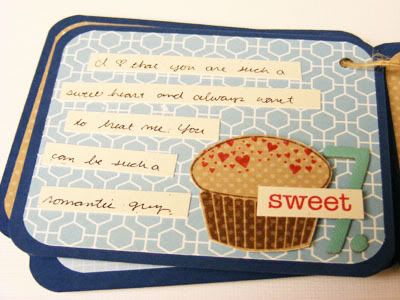
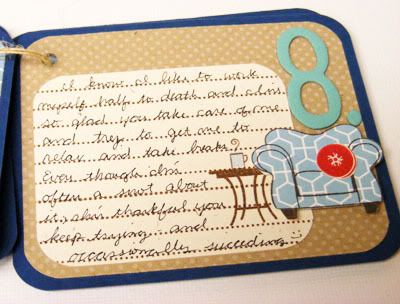
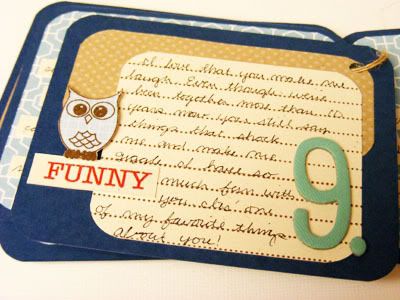
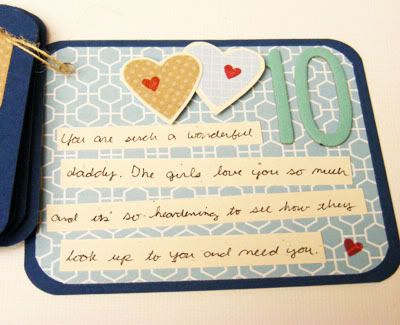
Here's the minibook I made for Paul. As much as I love to scrap, making a page or album for Father's day isn't very display compatible with his space. However, a mini book would be right at home on his desk. I opted to make this pretty small, it's only 3.5x 4.25 basically so I could cut the 6 base pieces from one piece of 8.5x11 cardstock.


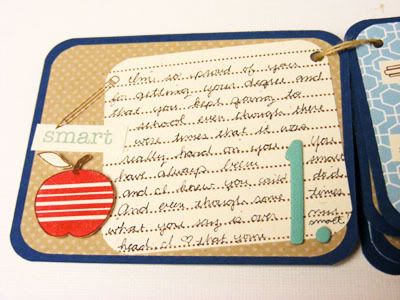
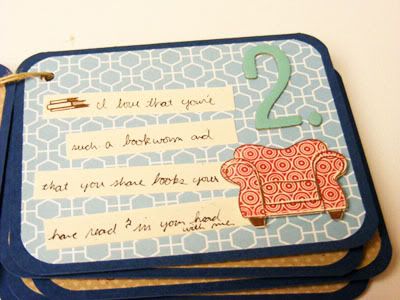
One of the first things I had to do was to plan a little bit about what was going on the pages. I knew I wanted each page to have a number, and at first I wanted each one to have a stamped reason as well but found that there were reasons I wanted to include that aren't generalized. So I made a list and then found 5 reasons that included the more generalized stamped words like sweet, caring, and smart.


There aren't any pictures, just journaling and embellishment. It was really liberating to make a project without pictures. You still get to document and decorate but don't have to match up photos ;) I simply picked a few papers I wanted for the minibook throughout and then went from there.


Not every page had a 'theme' but I did try to work them in as much as possible. I probably could have gone with hearts through the whole thing, but that seemed a bit Valentines to me. I did work them into a few pages though and put them with the lovey journaling.


I mixed and matched a lot of stamp sets though the main ones were Journaling Lines and the Take Ten set + additions. There's also quite a bit of dimension since I used 3d foam tape on all the images for extra depth.


This project was perfect for using up those Thickers numbers. I love the numbers but usually only use a couple and I feel like they get wasted. Now I have a project that uses the whole range, quite nice!


And last but not lease a couple fun book marks using some of the extra chairs I made. I love the book list one and am thinking of making a couple of those for me as well. As it is I've been using receipts, post-its, or whatever scratch paper I have laying around as bookmarks! Both of these projects were so fun, I am definitely going to be making more mini-books in the future! I hope you enjoyed and are having a wonderful Father's Day with your families ;)

6.19.2010

Father's Day Cards


Here are the cards I made for the guys. Masculine cards are usually really difficult for me but making these wasn't too bad. This one is for the girls' poppa. C wanted to make her own goodies and drew a cute tie and wrote I love you boba. So cute! I left the spelling wrong simply because I thought it was adorable. Hopefully Poppa thinks so too. A copied C and drew a tie. I have to wonder where they got this idea since they don't often see Paul or Poppa wear ties and I didn't prompt them on this one either. I think it's crazy that they picked that up on their own to link ties and fathers day.


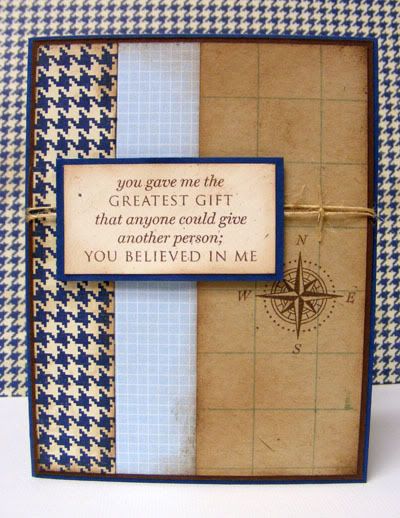
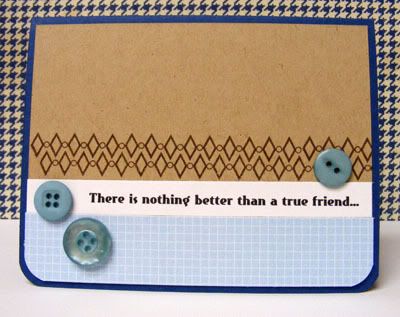
We had a birthday to go to before the weekend and so I whipped this card for our chocolate loving friend. Inside it says "except, of course, a friend with chocolate." So fitting for him! This card was the inspiration for the others. I really liked how the blues looked with the kraft and brown.


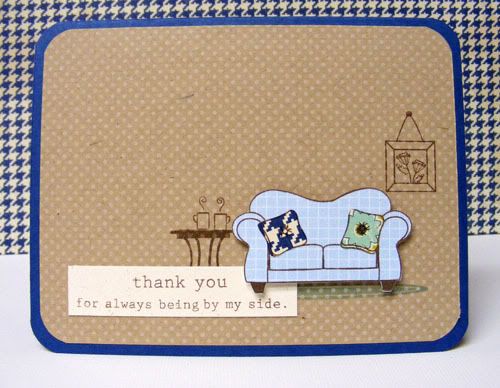
And here is Paul's card from me. I love the guy and girl pillows since that's an item of hot debate at our house ;) I kept everything else simple, not coloring any of the background stamping since I wanted the couch to stand out. The girls drew a bunch of pictures for him. A's first few ones she forgot she wasn't supposed to show him and went running back to display her hard work to Paul. So sweet! I'll be sharing another Father's Day project tomorrow since I'm still working on it right now. Enjoy and have a wonderful weekend!

4.26.2010

To the Moon and Back


That's how much I love you (on the inside). Isn't this guy such a cutie! Sparkle RAKed me a bunch of darling Greeting Farm images quite a while back and I've been hoarding saving them until I was in the mood to color again. It's taken forever for me to get any coloring mojo back but after the past couple weeks watching Caitlyn being super artistic and shading her coloring book pages I caught the bug. Of course when I color she stops coloring her page to watch me. When I asked her what she was doing she said "I'm coloring with you mom." "Don't you mean you're watching me color?" "Yeah, whatever." ha! Caitlyn has just started saying 'whatever' and everytime she does it totally catches me off guard. I got my first attitudey "Whatever Mom" last week and I can't remember what I said to induce it. Probably because Paul and I got such a good laugh out of it before we tickled and teased her about saying 'whatever' to me. Anyway, about the card. I actually CASEd one of Sparkle's cards, she always makes such cute ones and I knew if I copied one of her designs I'd end up loving the card. She actually used a sketch #16 from Sketch Girl for her card so I headed over to check the sketch too. Enjoy and have a Happy Monday!

Supplies : Paper - October Afternoon, Sassafras, My Minds Eye; Buttons and Cardstock by Papertrey Ink; Glitter Cardstock; Basics 1 card for Slice (stars); mini brads by Queen Co.; Sentiment printed from my computer; Coloring done with pencils and gamsol;

3.28.2010

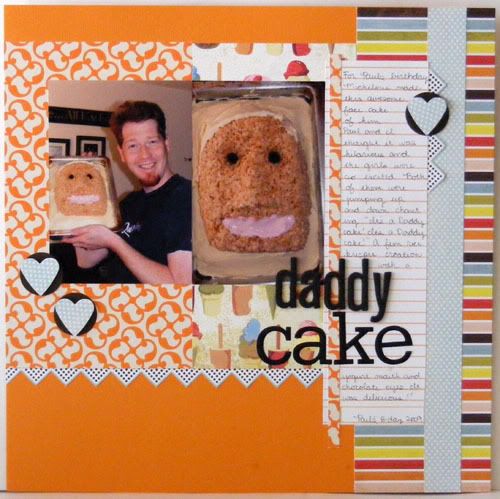
Daddy Cake


Supplies : Stripe and Dessert Paper by Basic Grey, Orange print by Pebbles Inc, and blue dot by My Minds Eye; Border by Pebbles Inc.; Journaling paper by Creative Imaginations; Thickers and Remarks letter stickers by American Crafts; Cardstock by American Crafts; Circle and Heart punches by EK Success;

Trying to use up more scraps ;) I used a March Pagemaps for this layout, another resized 8.5x11. This was such a funny cake. Paul's sister wanted to do something different for him this year so she made this cake of Paul. The girls called it the 'Daddy cake'. I was happy they took pictures since I was out when she brought it over and Paul and the girls had eaten a big chunk of the Daddy cake before I got home, hehe. Too fun! Enjoy the layout and have a lovely Sunday!

2.21.2010

Quick Wrapping!


Supplies : Tiny Treats Valentines, Polka Dot Basics, Borders and Corners Circles, and Everyday Classics stamp sets, Ink, and button twine by Papertrey Ink;

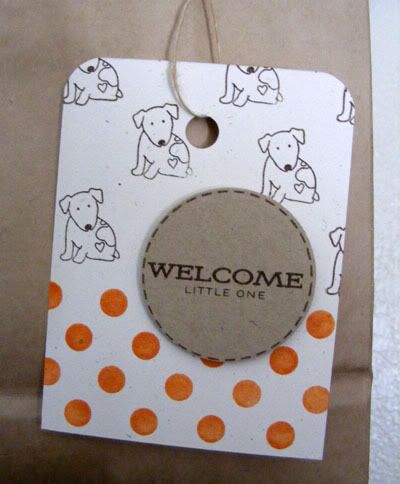
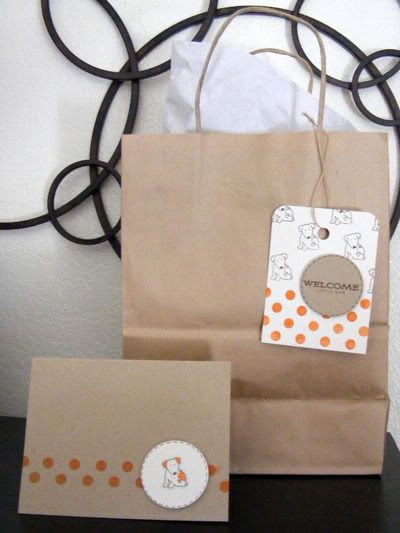
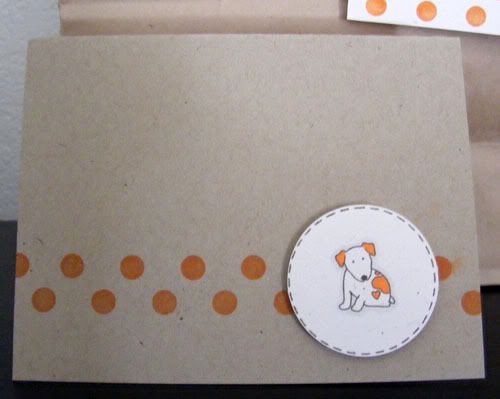
I had a baby shower to go to last Saturday and being the scatter-brained mom that I am I completely forgot about it until that morning. So I rushed out to shop for the new baby boy and found a couple darling outfits (didn't get pictures, oops!). The colors were orange, brown, and khaki in both outfits, one sporting a truck the other a puppy. I got home with about 20 minutes until I had to leave for the shower and so I made quick work with a simple tag and card.


I've been trying to be more earth conscious with my wrapping so I used a repurposed kraft bag from the quilt store and some of the packing paper from an online order. I grabbed some kraft and rustic cream scraps, pulled out the orange zest and dark chocolate inks and went to work. I kept both the tag and card very simple, the dog and welcome circle elements pop dotted up for some dimension as the only real embellishment. For just a few minutes I think it turned out very cute! The pictures aren't that great since I just propped everything on top of my armoire real quick to snap a couple photos before running out the door with the girls. We were about 10 minutes late but it ended up just fine since the guest of honor wasn't there yet ;) Anyway, enjoy and have a lovely Sunday!

1.23.2010

You Are Dino-mite!

Supplies : Paper, Cardstock, and Tiny Treats Valentines and Background Basics Hearts stamp sets by Papertrey Ink; Sharpie and CTMH Markers; Cranberry and Black ink by CTMH

I had an extra dino from the mini card set that I didn't need so I turned him into a simple big card. The circle is pop dotted up for a little more dimension. I wanted it to be more of a little boy card so I kept it really simple. It feels like Valentines is just right around the corner! This month has just flown by. I think a big part of it is Caitlyn being in school. Since she's started Kindergarten I swear the days whip by twice as fast. Geez, I wonder what will happen when they're both in school full time! I would hope that means more time for me, but I doubt that's how it'll work out ;) Anyway, I'm rambling. Enjoy the little card and have a super Saturday!

1.21.2010

Mini Boy Valentines

Supplies : Paper, Cardstock, and Tiny Treats Valentine stamp set by Papertrey Ink; Sharpies and CTMH markers; Cranberry Ink by CTMH

Super simple mini Valentines! I wanted to make a little project where I got to use most of the images in this set and mini Valentines for our nieces and nephews fit the bill perfectly. Plus this got Caitlyn excited for making her own again this year. I will be letting her color all of her own ;) These are the nephew ones. I used scraps from some of the Valentines cards I've been making to put these together. Aren't they too cute!! I knew I wanted this set the moment they started showing sneak peeks, there were just so many cute little animals and sayings. Plus I was so happy that there were a lot of boyish ones because all I really have is girly images. That dino is one of my favs, isn't he too adorable! The images came out fuzzy after I colored them, I realized after that I had used regular black instead of my brilliance pad, but the kids won't care I'm sure ;) Tomorrow I'll be posting the girls. Some of them could have been boy ones, we just have more nieces. Thanks for stopping by and have a happy hump day!

12.12.2009

Cozy Campy Cocoa

Supplies: Rustic White Cardstock, Ocean Tides Ribbon, Jute, Warm Happiness and 2008 Holiday Tags stamp sets by Papertrey Ink; Mini Cello Bags; Twilight Ink by CTMH; 2" Scallop Punch by EK Success; Mug from Pier 1;

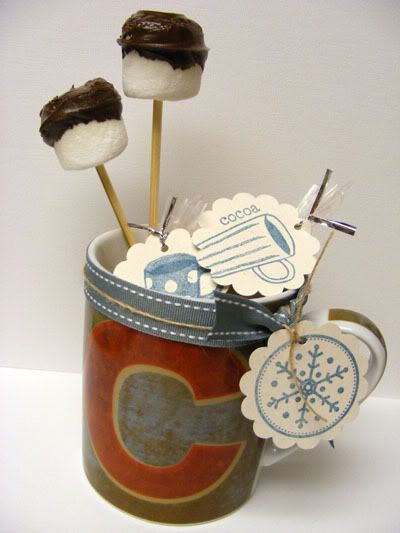
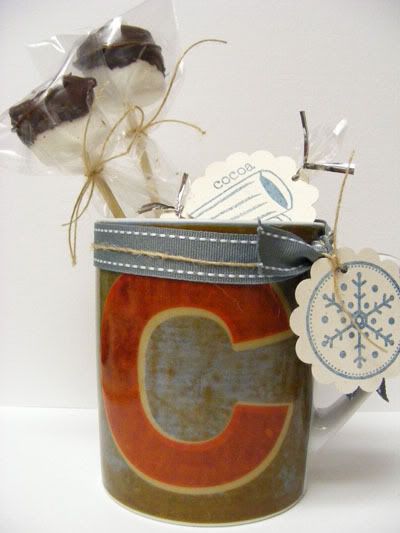
Here's another take on the mug gift set I posted a couple days ago. I remembered seeing some chocolate dipped marshmallows on Nicole Heady's blog a while back and thought it would be so fun to try. I got this fun Monogram mug from Pier 1 and the colors instantly made me think of camping, roasting marshmallows in the fire and making s'mores. I made more of the fun cocoa samplers and then added the marshmallows dipped in melted chocolate to the set instead of candy canes. In fact I had a little extra chocolate so I got to taste test some other marshmallows and boy are those little guys yummy! Marshmallows like to get stale in the air so if you aren't giving the gift right away to you can wrap them really easily with some of the mini cello bags and some twine or ribbon like I did here on the bottom post. Wouldn't you love to get a fun gift like this! This one is for Paul's brother. He's so outdoorsy and into camping that when I saw the mug I knew it would be perfect and the dipped marshmallows seem to just complete the campy s'more theme ;D I hope you enjoy and have a wonderful weekend!

8.13.2009

Seven Cards for Seven Kidlets


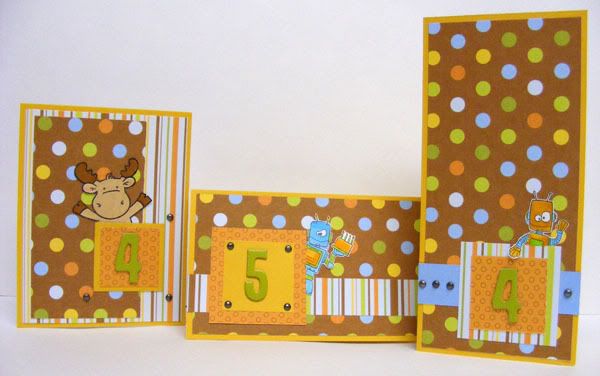
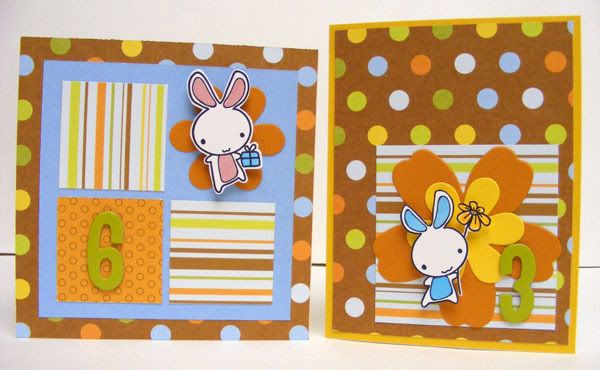
I think I've just found my new favorite way to make kid's cards! Just two sheets of double sided pattern paper and a couple sheets/scraps cardstock and I was able to make these seven darling cards. I had bought these two papers together with the intent of recreating the cute playground layout in my local scrapbook store. I even got the diecut flowers to go with it. Well, two years later and the paper and diecuts still sat unused since I couldn't find photos that I felt went with the paper. So I decided I should make some little boy cards for our nephews' birthdays which are coming up in the next few months.


Supplies : Paper by Pebbles; Cardstock and Brads by CTMH; Robots from Stamping Bella; Thickers letter stickers by American Crafts; Bunnies by Greeting Farm; Precut flowers from LSS using Bazzil Cardstock; CTMH and Copic Markers; Pop Dots;

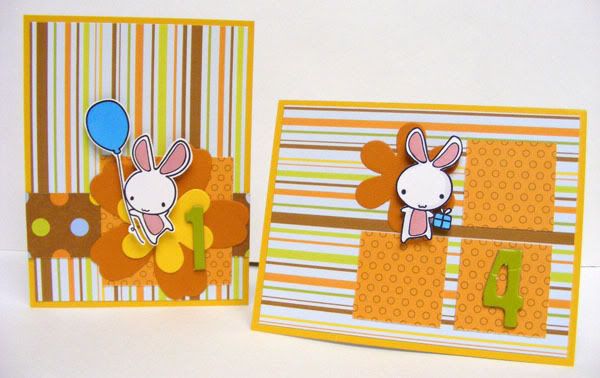
Of course after putting together the two robot cards I thought I might as well just go ahead and make cards out of all the paper. It worked out perfectly too since I could use the flowers on the cards for our nieces and the Riley card could be used for another nephew even though his birthday isn't until March. It never hurts to have them already made, especially since I often forget until that day to make a card! My fun new discovery was simply cutting out the cute stamped images and putting them on the cards instead of doing the usual matting.


A little while back I had seen a simple birthday gift set that used the number stickers to use for ages 1-9. I thought it was a great idea to use up the numbers in my thickers set so I applied that to these cards. I noticed this also helps me remember who I have cards made for. With 8 nieces and nephews and another on the way it gets a little crazy trying to keep track of just the kid's birthdays! Anyway, I hope you enjoy my quickie kidlet cards and have a terrific Thursday!

7.02.2009

Happy Birthday Monsters

Supplies : Stamp by Stamping Bella; Paper - Basic Grey, My Minds Eye, Scenic Route; Cardstock - Bazzil; Thickers - American Crafts; Sharpies, copics, and CTMH markers; white gel pen

The second bella birthday challenge was a sketch challenge and this is the card I made for Shannan's sketch. I mixed up a lot of different scraps and love how fun and bright it came out. I really liked my coloring on this much better and I've noticed that I have to keep relearning that I don't always have to completely match the colors in my creations for them to look good. These monsters are so cute and Cait immediately loved it saying they were birthday monsters and that the balloon was for her birthday, lol. Enjoy and thanks for stopping by!

6.25.2009

Have a Hoot of a Day

Supplies : wise owl and bellies, retro backgrounds, and buttons by PTI; cardstock, ink, and ribbon by CTMH; jute (rak)

Just a simple and quick card using the splitcoast #231 card sketch. I was feeling like making something a bit more earthy and masculine and using the sketch as a jumping point, when from there. I think if I wasn't so over conscious about making guy cards they would probably be a whole lot easier for me to make. Anyway, instead of thinking about making a masculine card I tried to think more about making a nature card and I think little owly turned out alright :D Enjoy and have a terrific Thursday!

6.19.2009

All American Boy

If you got a new post message for posts that aren't here I'm sorry. Last night Blogger started publishing my new scheduled posts right away and then gave me a bunch of errors. It seems fixed now but since I had to just delete and remake my future posts I think the google reader might still display the deleted posts. Nothing terrible, you'll just get to see what's coming up this next week, lol. Anyway onto the card :D Marcia's sweet RAK was just in time for me to make my nephew his birthday card. I don't really have many masculine stamps and making cards for guys, even little boys, is a pretty tough challenge for me. She sent not only this darling image, which is so my nephew (he's totally all boy), but also some darling boyish paper too so putting together a card wasn't nearly as difficult for me as it usually is. I used the twisted bella challenge, which is to use the BSC70 sketch and red, white, and blue, for the inspiration of this card (I flipped the sketch upsidedown). His birthday is close to the 4th so the colors were just right. Since I haven't colored in so long I thought I might mess up a bit, but he came out darling. I used my CTMH markers and then a white gel pen for highlighting. The cardstock, clear stars, and pewter nail heads are what I used from my stash and are all CTMH. I hope you all enjoy seeing a card finally after all these layouts ^_~ Have a fabulous Friday!!