Showing posts with label Winter. Show all posts

4.19.2010

Catchin' Cabin Fever


Supplies : Paper by Cosmo Cricket; Borders by Cosmo Cricket; Rubons by BoBunny; Earth Love Chipboard by Cosmo Cricket; Kraft and Green Cardstock from LSS;

I mentioned giving some love to some of my older papers and as I was looking through my stash I came across some Mr. Campy papers. They are so fun and even though I've been feeling a bit more like playing with bright and springy colors I thought to try to see if I could play with them to make a few pages. The title comes from a border paper that has titles like this or other borders across it. The leaves, acorn, sweet, and journaling border were also cut from that same border paper. I love these winter photos of the girls snacking on some graham crackers and hot cocoa. It reminded how even though they were itching for the warmer spring weather that there are a lot of fun things about being stuck inside during the cold. The weather around here has been nice. Warm sun and cool breezes. The girls have been wearing their darling summer dresses, I broke down and had to get some of those Liberty of London tops and dresses from Target. They are so pretty! Enjoy, I hope spring is finding it's way to wherever you live and if it's still cold I hope you're enjoying hot drinks and snuggled up book reading under a cozy blanket!

3.16.2010

Eskimo Kisses

Supplies : Paper Eskimo Kisses by Basic Grey; Kraft Cardstock; Velvet ribbon by My Minds Eye; Chipboard by Basic Grey; Rhinestones by Kaiser; Stickles; Thickers letter stickers by American Crafts; Kisses sticker from Valentines set by Pebbles Inc.; White Embroidery Floss

I couldn't help but to use that title on a page, especially since Audrey is such a kissy girl. Doesn't it fit perfectly! The Practical Scrappers Challenge this week is using Chipboard. I decided to make it ultra easy on myself and use the Eskimo Kisses line of papers and chipboard ;) And even easier by using a January Page Maps layout. In fact the only difficult thing on this layout would be the stitching and that was more time consuming than difficult because I hand stitched it. I did add a little fun bling to liven up my chipboard pieces, some hot pink rhinestones and stickles make them shine up. This is one of my favorite pictures of Audrey and when I picked up the papers I knew I would have to use these little eskimos with some of the pictures I took of her in her hot pink sherpa coat. By the way, you know how sad Audrey was when we had to give this one away. Well, she had gotten a new one for Christmas ;) It's not hot pink, just the traditional tan but with lots of cute embroidery and she loves it! She wears it just as much as the other one and the great thing is that it matched her cute little sherpa boots too. I hope you enjoy the layout as much as I do and have a super Tuesday!

1.18.2010

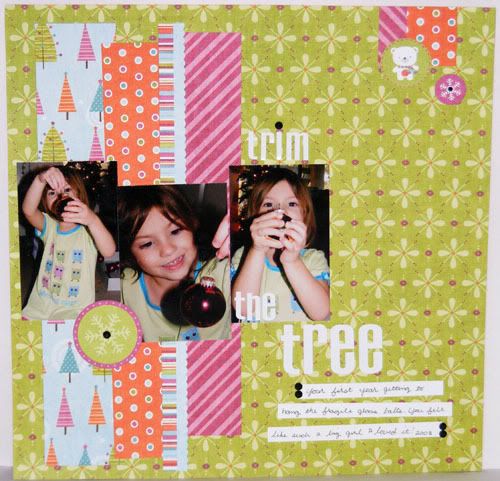
Trim the Tree

Supplies : Paper and Elements Colorful Christmas by My Minds Eye; Remarks Letter Stickers by American Crafts; Black Rhinestones by Kaiser

And here's the layout I made with which the scraps I used in the last two cards were made from. I had actually cut the papers out weeks ago for the Inspired Blueprints #38 sketch and never got around to actually putting together the layout. And I had even made the cards before I finally glued everything down on this page, lol. These are of Audrey the Christmas before last. It was her first year getting to hang the fragile glass ornaments and she was so excited, I could tell she felt like such a big girl. The pictures weren't that great but the sketch's smaller photos made them look a lot better since it focused in on her. I love it when I can make funky photos look better on a layout ;) I've enjoyed the comments on whether or not you'd redo any of your pages. I think for me I'm going to consider redoing some of them, especially since a lot of them didn't have the journaling that they should since back then I didn't journal on the pages. I don't mind if I get further behind since I know with scrapping you're never really caught up, lol. And I think it would be fun to go back and do something different with the baby pictures. I don't want to take apart any pages though, so I think I might put them in books for the grandparents since neither Paul or my mom scrapbook but they love the albums ;) To answer Kim's question, the daughter title on my baby girl layout is a sticker from Pebbles Inc baby line. Thanks for popping by and have a splendiferous Monday!

1.11.2010

The Second and Third Days of Christmas


Supplies : Paper by Basic Grey and My Minds Eye; Cardstock by Bazzil; Rhinestones by Kaiser; Button by Papertrey Ink; Slice and Mistletoe Card

I missed Sparkle's Christmas challenge last week so this week I did them both ;) The extra challenge this week is to use embossing and that worked perfectly with these little doves! A couple challenges ago I started with the little partridge image. I'm hoping to make an entire set of the 12 days of Christmas. We'll see how it goes. I used a bit of some border paper I had left of that My Minds Eye birdy set. The little cage was just what the card needed. It's really different trying to make cards with die cuts instead of stamped images, but so far I think I'm doing alright. Below is the card for last week. The extra challenge for week 5 was buttons. I tried to work more into the card but I wasn't loving it so I added just the one big button. I've started printing out the sentiments for these on the computer. I'm not sure how much I like them yet. Maybe if I print them on some colors next time instead of white cardstock.


This first week of school has been kind of hectic. New Years I was coming down with some sniffles and a couple days later I had the worst flu. Not the worst I've ever had, but definitely one of them. Luckily by this weekend it was back to simple congestion but I have to say that week was really a doozy. I'm so glad Mich and Paul helped out the first few days Caitlyn was back in school otherwise she might have ended up stuck at home. Then yesterday I was walking down the sidewalk to our apartment and I tripped and fell hard. I haven't fallen like that since I used to skate back before I had babies! Oh it hurt so bad, I have a huge palm size bruise below my knee now and my knee caps are still sore. No broken bones or anything, but still... ouch! I got to be a big baby all night and nurse my sore legs lazying on the couch with some tea, orange rolls, and the first episodes of Lost. Anyway, today has been much better so I'm hoping that's a good sign that the rest of the month will be too. I hope the New Year has been treating you all well ;) Enjoy the cards and have a lovely Monday!

12.17.2009

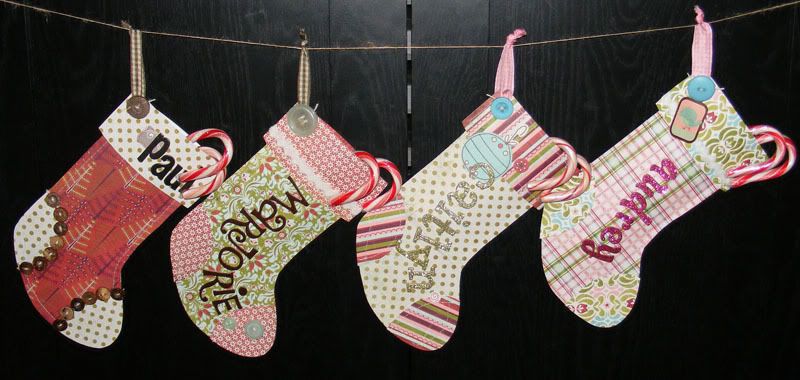
Mini Paper Stockings


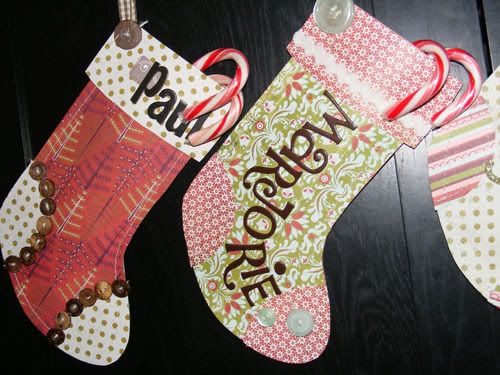
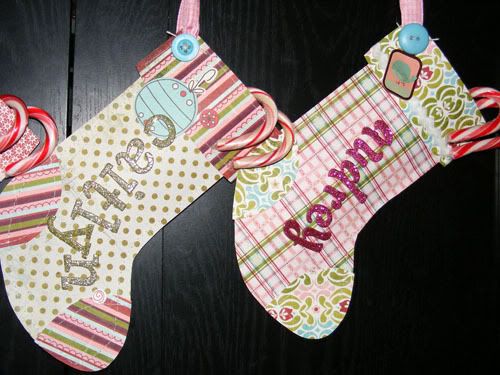
Supplies : Paper by Basic Grey; Buttons and Twine by Papertrey Ink; Thickers Letter Stickers by American Crafts; Ornament Stickers by Crate Paper; Bird Tag Sticker by Cosmo Cricket; White Velour Ricrac by May Arts; Brown Gingham Ribbon by CTMH; Pink Gingham Ribbon by Pebbles Inc.

This week on Practical Scrappers the designers were challenged to make paper crafted decor items. I love stockings but have yet to buy or make some for our family. I think I must be too picky because I never see any premade ones at the stores that I really like. So for now I used some of that darling Eskimo Kisses paper to create these mini 4" x 8" paper stockings, perfect for slipping in a few holiday treats, pencils, bookmarks, etc. I could totally go for these patterns in fabric ;) To make them was quite simple I drew a stocking shape and then cut out 2 pieces for each. Then I paper pieced the soles and cuff of the sock before sewing the whole thing together. I picked a different set of Thickers for each of our names and then embellished the stockings with stickers, ribbon, and buttons.


I wanted to keep Paul's stocking a bit more maculine so I stuck with the deeper reds and the green, both favorite colors of his. Instead of adding ribbon I used the twine to string the buttons together. I love the rustic look it gave his stocking. The dot paper is actually one of my last sheets of Figgy Pudding paper and it coordinated quite well with the new set. For my stocking I picked my favorite patterns then added just a trim of the ricrac and some buttons to finish it off. The velour ricrac is so fun and fuzzy, when I actually get around to making or altering some fabric stockings I'll have to find more of this stuff ;)


With the girls stockings I used some of the pinker patterns, especially on Audrey's and of course I had to use some glitter Thickers. I had actually tried putting Caitlyn's name across the cuff but it didn't fit and when I moved the letters some of the paper ripped. So to fix my mistake I added some of these fun stickers. And after adding stickers on Cait's I couldn't not put a little sticker on Audrey's. This little bird tag fit her so perfectly. Enjoy the stockings and stop by Practical Scrappers to see the other decor items! Have a terrific Thursday!

12.09.2009

Ornament Tags

Supplies : Paper, stickers, and elements by Cosmo Cricket; Buttons, Jute, and stamps by Papertrey Ink; Ink by CTMH; Marvy Snowflake Punch; Nestebilities; Shimmer Cardstock;

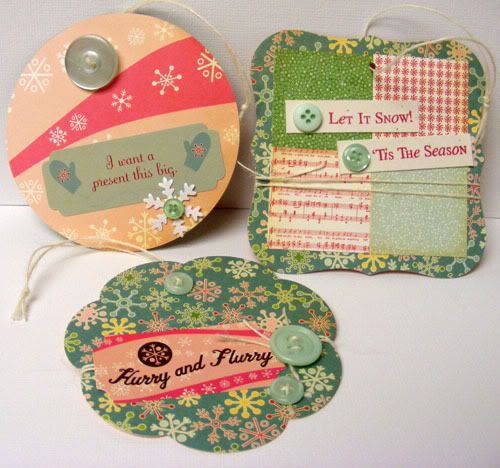
Tagaments or Ornatags? I made these out of some of the scraps with first the thought to make them tags but they morphed a little into paper ornaments. They were so fun to make whatever they are. I simply took the scraps and cut out various nestie shapes and sizes then added buttons, jute, stamping or stickers/elements to complete the little tag/ornament. They also fit perfectly in that little card purse I posted on Saturday. I can see now why making ornaments has so much appeal. You could get lost in creating these, each one different yet quick and so easy to put together! I don't know that I'll be putting these on a tree or if I'll be using them to go with gifts, but I can definitely say I'll be making them again next year! Enjoy and have a happy Wednesday!


12.07.2009

All Bundled Up

Supplies : Paper, Elements, and Stickers by Cosmo Cricket; Flair Button by American Crafts; Heavenly Blue Brads by CTMH

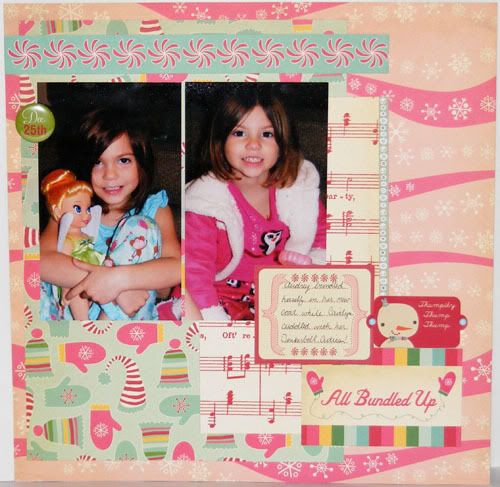
Here's one of the layouts I made with the Cosmo Cricket packet. I used one of the November Pagemaps layouts for this one. Audrey loved that hot pink jacket she got last year. I have pictures of her wearing it in July out in 110 degree weather! She would say she was cold just to wear it. Both of us were so distraught this year since she had to give it away because she had outgrown it by the time fall rolled around. Audrey because it was her favorite jacket of all time and me because she looked so stinkin' cute in it! Her little cousin will hopefully get as much use and love out of it as Audrey did. They are just over a year apart so she ends up getting all of Audrey's cute clothes ;D Both the girls had their cozy jammies on and were so cute all bundled and snuggled together Christmas morning and I loved how well their pjs matched the paper. Well, enjoy the layout and have a marvelous Monday!

12.06.2009

Wintertime

Supplies : Paper, Sticker, and Elementes by Cosmo Cricket; Rhinestones by Kaiser

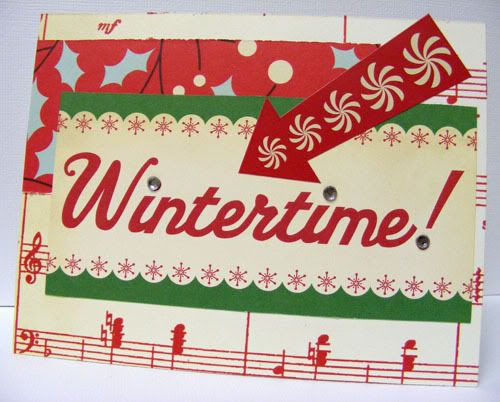
Another simple card, this time for Sparkle's Christmas Card Challenge! Even though I didn't play in all of them, I am so glad I played in many weeks this year. I had more than enough Christmas cards made and even a few extras just in case. I love the colors in this, that radish red, eggnog cream, and crayon green. Hot cocoa with marshmallows and standing under mistletoe is what this color combo reminds me of. This was all made from scraps too which is an added bonus since you all know how much I love to use my papers on layouts first ;D Winter here is one of my favorite seasons. It doesn't get terribly cold, enough for sweaters and scarves maybe but you rarely need many layers with fluffy jackets. If we're really lucky we might get a day or two of snow in January or February, but for the most part we have mild winters compared to most places. And since my favorite clothes happen to be fallish, it's perfect that I can wear them all through the winter as well since it's not too terribly cold. Just cold enough to enjoy being chilled and appreciating pink noses and mittens, hot cocoa and quilts. Thanks for stopping by and don't forget to visit Sparkle's site for her Christmas card. Have a lovely Sunday!

12.05.2009

Holiday Purse and Tags

Supplies : Paper and Elements by Cosmo Cricket; Buttons, Jute, Rustic Cream Cardstock and 2008 Holiday Tags stamp set by Papertrey Ink; Ribbon by We R Memory Keepers; Marvy Snowflake Punch; Shimmer white CS from Pebbles; Tulip Ink and Brads in Holiday Red and Cranberry from CTMH; 2" scallop punch from EK Success

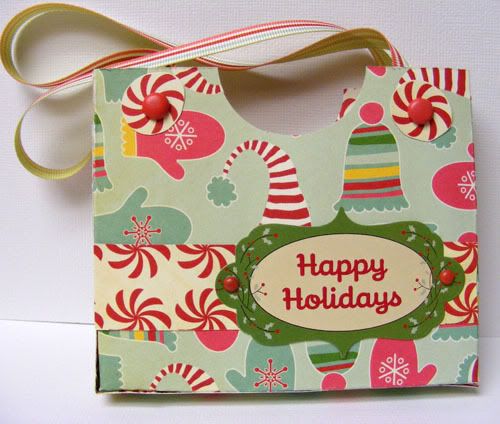
I used more of the Cosmo Cricket sampler I used to make the card yesterday to make some simple and quick tags. I'm loving the fun colors in this paper kit. They look like scrumptious Christmas candy! The tags were very simple, I just punched out some scallop circles from the rustic cream cardstock by PTI and then stamped some of the holiday tag images in Tulip on them. Then I added some ribbon and buttons since the patterns were already striped! Easy peasy, yes? Splitcoast Stampers had this fun template up for a little holiday card purse and I thought it would be fun to make with some of the scraps from my holiday layouts to put the tags in. My purse is actually shorter since I was using scraps and I housed some tags rather than the A2 size cards the template was for. This was so easy to make and pretty quick as well. I'm going to be putting together some little stocking stuffers for Caitlyn's class today. We're doing a Christmas story each day now with a stocking stuffer to go in their little paper stockings each day until Winter Break and mine is on the 14th. Very fun for the kiddos and I think the hardest part for me will be picking out a book to read. I want to find one that is fun, but not one that will have already been read. I'll be hitting the book store today as well to see what I can find ;D Have a great weekend and thanks for visiting!

12.01.2009

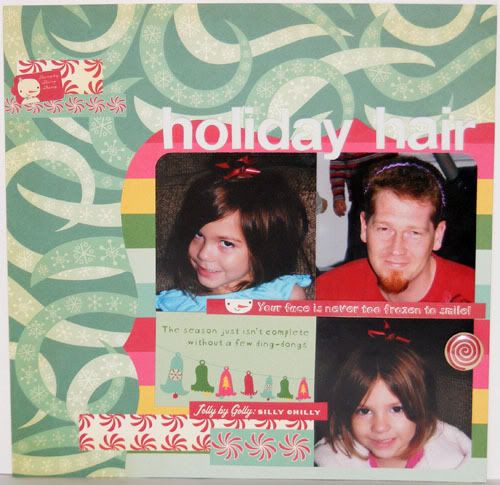
Holiday Hair

Supplies : Paper and Elements by Cosmo Cricket; Flair Button and Thickers Letter Stickers by American Crafts

A simple layout to start off the holiday season. These were some silly photos of the girls with Christmas bows on their head from Christmas morning and I just had to include the one of Paul when Caitlyn had put her hairband on him so she could wear the tiara she got from her Aunt at our family Christmas party last year. I loved the little element that said "The season just isn't complete without a few ding-dongs" It matched the goofy photos so well! I had ordered the Cosmo Cricket craft pack right before I got sick earlier this month and am finally getting around to play with it. November has been pretty batty with all of us getting sick with colds, the flu, even a stomach bug and to top it off some vandal completely shattered one of our backseat car windows. Thankfully we were able to get the window fixed that next morning and we are all getting better finally :D I'm keeping my fingers crossed that none of us catch anything else for a while. While Caitlyn and Paul get over those things quickly, Audrey and I tend to have a much harder time. We have higher fevers, worse symptoms, and feels like it takes forever for us to get better. You can tell who got who's genes, lol. I hope everyone had a fantastic Thanksgiving though. We definitely had a great one. The meal was wonderful and the girls had such a blast playing with their cousins. With all the flu going around and the holiday craze our family hasn't gotten together since early October and it was so nice to see and chat with everyone. Hopefully I'll have at least a couple posts for you each week as I've got lots of Christmas goodies and such to make. So to get in the holiday mood this weekend we listened to Christmas music, put up the tree and decor, and I scrapped a quick and simple page to get my crafting mojo going. Enjoy and have a terrific Tuesday!

9.27.2009

Pretty Trees

Supplies : Rustic White Cardstock, Tree Trimming Trio, Signature Christmas, Fancy Flourishes, and Text Style Backgrounds by Papertrey Ink; Juniper, Twilight and Crystal Blue Cardstock, Inks (same plus Sweet Leaf, Cocoa and White) by CTMH; Kraft Cardstock from LSS

Sparkle's Christmas Card Challenge this week had no extra challenge aside from making a Christmas Card and since I just got my Tree Trimming Trio and Signature Christmas set Friday I had to play with them and made 8 total bulk cards. One sheet of Rustic White the pieces cut 4 1/4 x 2 3/4 started the bulk card making (you will get exactly 8 pieces from one 8 1/2 x 11 sheet). I stamped the trees in sweet leaf offsetting them to the right, then the stand, and last the ornaments in the tree blues. After that I lightly distressed the edges in cocoa and set them all aside. The blue cardstock is all scraps from my stash and I cut up enough to make 8 bases. I ended up with 2 Twilight, 2 Crystal blue, and then 4 Juniper. Stamping the flourish first in cocoa I then lightened it up by adding some text background in white. I distressed the base edges in white and set those aside with the trees. Last was the sentiment. I cut one 2 1/4 x 12 strip from a scrap of kraft I had and then cut out 8 of the labels with my nestabilities (it fit 8 just barely so if you do this make sure you're cutting them close together). Instead of stamping the same sentiment on all of them I thought it would be fun to mix it up a little so on 4 I stamped Season's Greetings, 2 Joy to the world and 2 Holiday Greeting to coorispond with the 3 different cardstock bases I had then distressed those in white. Putting them together went by in a jiffy and the total time was about an hour plus the cards are flat, perfect for mailing! Don't forget to stop by Sparkle's Blog for the challenge and her gorgeous Sarah Kay Christmas Card. Have a lovely Sunday!

8.24.2009

Got Vellum?


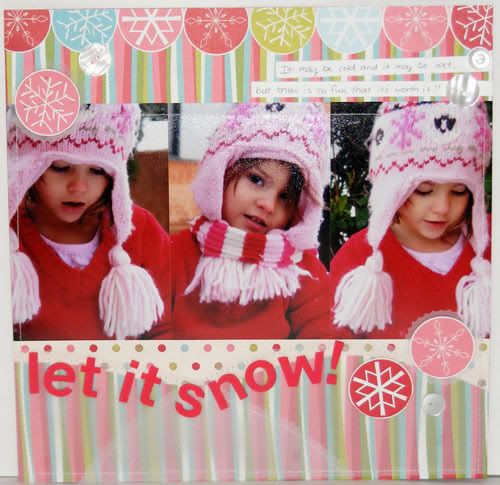
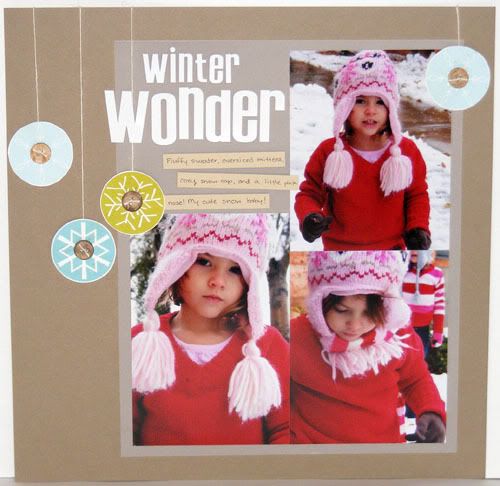
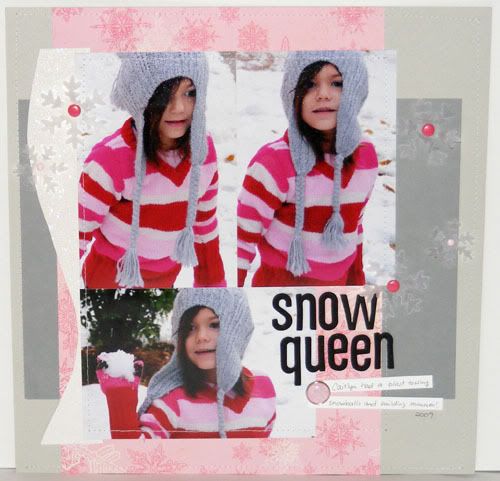
This week the challenge on Practical Scrappers is how to use vellum. I have to say that even though this one has been the most challenging for me so far it was also one of the most fun. I stuck with winter pages because I loved these pictures and have been wanting to scrap them with something fun. And vellum just happened to be the fun for them!


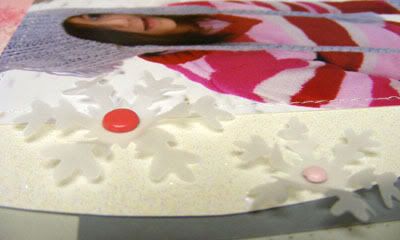
Create a scene! I made some snowy vellum hills overlaying my stripe paper and sewed it in place. I used pinking scissors to edge the vellum snow and then to cut a decorate mat for two of the snowflakes. Tear, paper piece, or simply cut curves in your vellum to create a backdrop scene for your layout. Don't stop with snow either; make water, clouds, rain drops, foggy winter windows, etc. Got colored vellum? Make leaves for a tree or just use like you would cardstock for a lighter layered effect. You can also use vellum to soften bright papers. Have a plaid that's too dark? Lay some vellum over it for a lighter page or use vellum over fun bright papers for a baby layout.


Keep it simple! Sometimes I just can't find the right shade of cardstock to match my page. Here I used vellum to mat my pictures to create a very simple rustic snow layout on dark kraft paper. Use vellum to create shades on monochromatic pages or to mat a picture when you can't find cardstock to match. Love clean layouts? Vellum adds interest without adding colors, almost like texture. Vellum looks great plain or if you love the home spun look adding a hint of stitching can really make a statement! Tip : When sewing make sure to put adhesive closer to the center of your vellum piece so that the needle doesn't get stuck and tear your vellum.


Texturize it! Here I crumpled up my vellum snowflakes to give them more presence on the layout. Crumple or emboss vellum to make it stand out more on a page. It's easier if you cut or punch out your vellum before crumpling. Try dry embossing a ghost with a swirl pattern, or add some dots to mini clouds. I hope you're inspired by some of these fun ideas on how to use vellum! Check out the Practical Scrappers Blog for more examples on how to use vellum. Enjoy and have a great Monday!

7.11.2009

Hot Cocoa

Supplies : Papers and Tag by My Minds Eye; Cardstock and Classmates stamp set by CTMH; Thickers by American Crafts; Red Candy Dots by Pebbles Inc.; Glitter paper by Doodlebug;

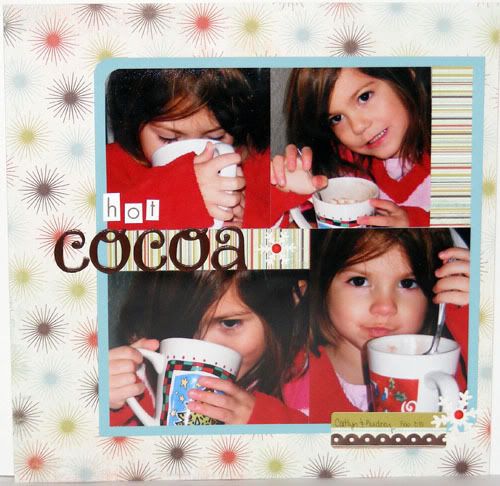
Another winter layout, I hope you guys aren't sick of them! This one was a quickie. I simply did a 9x9 photo collage matted on a 9.5 x 9.5 piece of blue CS and filled in the empty spaces with some fun stripedy paper. The 'O's in my cocoa title are actually upside down 'Q's that I cut the tail off of. I think they look even better than the regular 'o's in the set :D A couple glitter snowflakes and a simple tag to put the girls names and the date on and viola! A 30 minute page! That is super fast for me. If you remember my warm and toasty layout from Monday, that one took me almost 3 hours and it was way simple! I think I average about 2.5-3 hours a page normally. Lately it's been less especially on my 'cheater' layouts. Anyway, have a happy Saturday!

7.10.2009

Warm & Toasty

Supplies : Paper - My Minds Eye (Snowed In); Cardstock - Bazzil; Thickers and Flair button by American Crafts; Glitter paper by Doodlebug; Tag by My minds Eye; Rhinestones; Marvy Snowflake punch

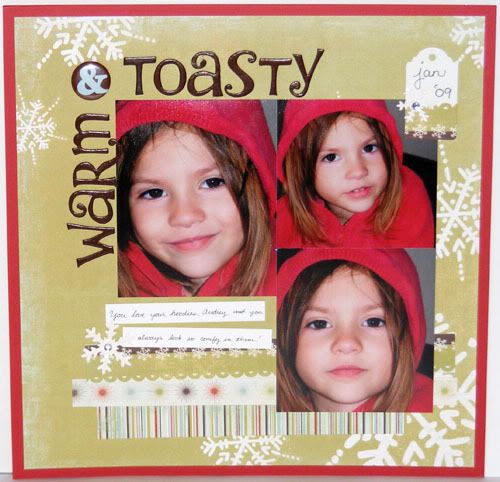
Audrey and her hoodies, I love it! Most of the time she has to have the hood on, even with her short sleeved ones in the summer, lol. I remember during the winter how warm and snuggly she looked all the time in her hoodie sweaters and I loved how her hair peeked out with her hood on. I actually didn't have any idea what I was doing with these pictures when I started, I just knew that I wanted to scrap them. In fact I tried starting out using the #24 IB sketch but it didn't fit the photos the way I wanted it to. This was a simple layout that took forever because everything from the design to picking out the papers was trial and error. I ended up going with what I have been doing a lot of lately and that's been to kind of collage the photos together tightly, and I really like the look of it especially with these big pictures. I hope you all haven't minded seeing a bunch of wintery layouts during the summer :D Thanks for stopping by and have a fabulous Friday!

7.08.2009

The Night Before Christmas

Supplies : Paper - Scenic Route and My Minds Eye; Cardstock and Classmate stamp set by CTMH; Thickers by American Crafts; Rhinestones; Marvy Snowflake punch

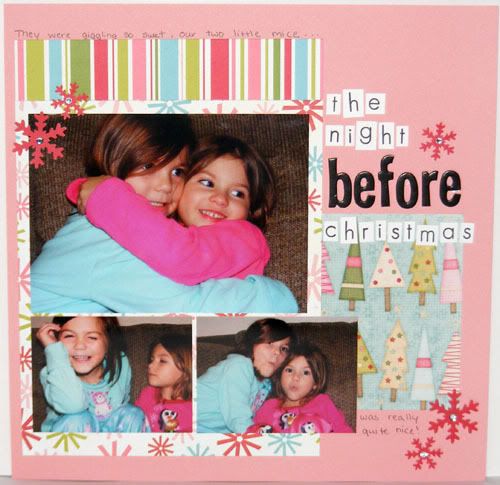
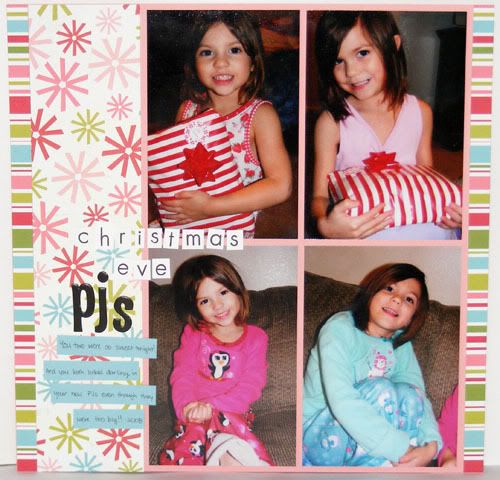
I used the #10 Inspired Blueprints sketch to start me off on this layout since I had this great 5x7 of the girls. This is actually the right page of the layout. I loved that they posed for pictures this last Christmas eve and I hope they continue to do so :D The faces they made on the bottom right picture crack me up and it's become the norm for them to make silly faces for the camera before I can get smiling ones. For the title I did something fun that I haven't done in quite a while but have been seeing more of lately. First I stamped the letters I needed and then I simply cut them out and arranged them on the layout. You can also print your letters with your computer if you like using different fonts. I haven't seen it on layouts in a while but I have been seeing this more and more on cards. It's a great way to create a longer title without having to use stickers or risk stamping directly on the layout which I tend to always mess up on.

Here is the left page. I wanted to make a page that showed the girls with their presents and then wearing their presents so I put the pictures of them holding their wrapped jammies on the top half of the photo collage and then put the pictures of them wearing their jammies right below each girl for the bottom half. I started the title just above the pajama pictures to help the layout with that before and after separation. We started that tradition this last year, but I'm pretty sure it's one we are going to keep and I'm hoping to extend it to both Paul and I this year. Caitlyn actually wears the hot pink penguin jammies now and Audrey has another pair of light pink penguin jammies we bought her after the holiday since we had gotten the sizes too big. Their penguin jammies are both their favorites and it's funny to me that even though these are winter pjs, the girls still wear them more than any others even in this summer weather. Anyway, have a wonderful Wednesday and thanks for stopping by!

7.06.2009

Christmas in July

Supplies : Paper - Scenic Route; Cardstock - CTMH; Thickers - American Crafts; Rhinestones; Snowflake Circle Accessory - My Minds Eye; Stickles

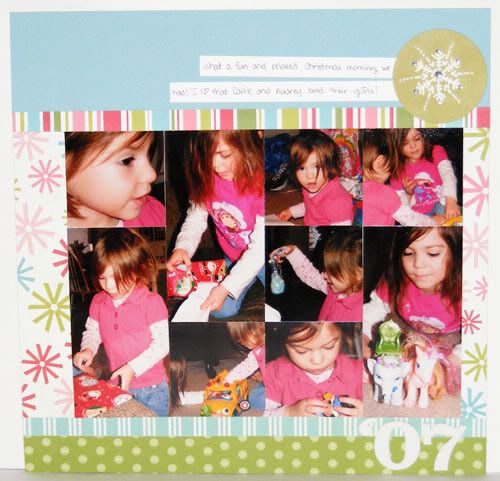
I caught a bug to do some winter layouts early last week which is great because I have a ton of Christmas and winter pictures and I have a whole lot of winter paper to boot. These pictures are from 2007 and I realized after pulling them out that I am terrible when it comes to holiday pictures. Not only do I have a hard time getting good pictures but I also take and print a ton! I really need to learn to streamline my printing better. Anyway, since I had all these pictures I thought I may as well try to scrap them and I choose to do a couple tight collages to fit all these photos. There are 17 pictures between the two pages, this one holding the bigger portion of 9. This is also the right side of the 2 page layout but I put it up first since the collage is a little more interesting. I mixed the up picture sizes between 2.5 x 2.5 and 2.5 x 5 which gave me more leeway with some of the photos. While most of them aren't great I didn't want to chop them all up into tiny pics.

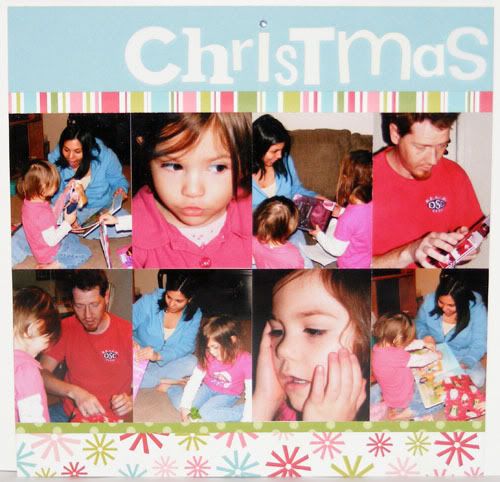
Here is the left side of the layout, a much simpler and quicker page. I cut all the photos to 3x4 and fit them in two neat rows with some pattern paper to top it off. This page went together in minutes and was perfect for a simple showcase of some of the closer shots we got. I was really surprised that we had more than one picture of me. Usually I forget to have my picture taken and end up with none of me especially on holidays. I'm really happy that Paul got a few of me in there :D Now if I can just remember to have him take pictures more often, lol. Anyway, I hope you enjoy the pages and have a happy Monday!

7.05.2009

Winter Wonder Quickie

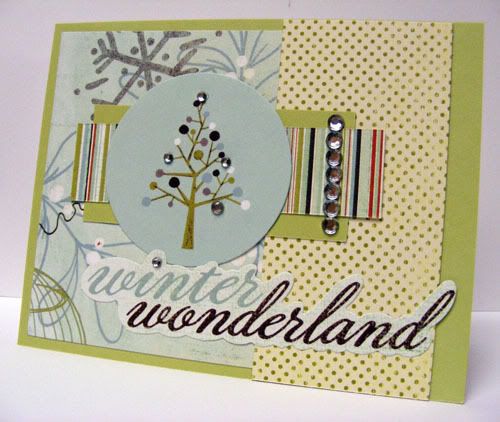
Supplies : My Minds Eye Snowed In paper and accessory sheet; Dot paper - Making Memories; Cardstock by CTMH; Rhinestones by Kaiser

Five minute card made in a flash! I literally got home an hour ago (by the time I finish typing I'm sure I'll have used up the last 5 minutes!) and thought 'hey, I still have time to whip up a card for Sparkle's Christmas Card Challenge.' The sketch has been off and on in my head, we spent most the day at our friends and I forgot to bring my Christmas papers to make a card while I was there so I just scrapped :D Anyway, back to the getting home. We're home and Paul and I rush the kiddos to bed which takes 40 minutes instead of the 10 like we had hoped. Then I'm speeding to the table and pulling/tossing my Christmas packet (I keep all my Christmas paper scraps and goodies for cards in one big 12x12 baggie) on the table and think of what can I make really fast. This card was it and I love how simple and pretty it is! So, I know it's practically Monday already, but at least you night owls can enjoy my card before my early morning scheduled post for tomorrow. Don't forget to visit Sparkle's Blog for the challenge and the links to the other cards. Have a lovely Sunday night!