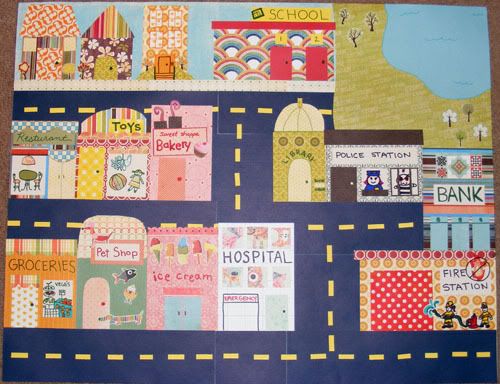
It started out as a speech therapy homework assignment. Then it turned into a sketch. The next day it ended up being an entire papercrafted town! So maybe I went a little crazy with this... maybe ;) Crazy aside though one of my crafting goals this year is to whittle down my scraps and this project used up an enormous amount of them since nearly everything here uses scraps! The homework assignment was fairly simple, to talk about different places in town to help build vocabulary and familiarity. Just a warning this is a long rambly post ;)
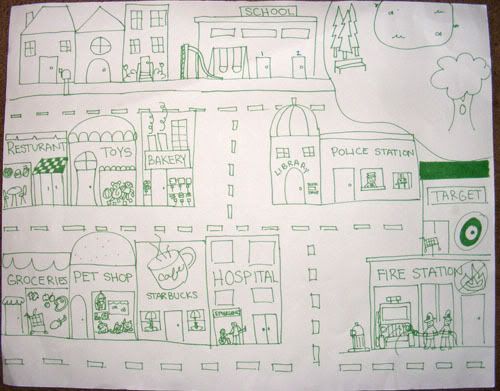
I made this sketch on my dying poster board for the activity, the one I use to back my layouts for pictures. This way it didn't end up in the recycling bin and we could play with the Littlest Pet Shops to work on Audrey's speech therapy questions like "Where should kitty go to buy bread?" "Who is in the grocery store?" "Where is Lizard?" and there would be a good visual to help her. So now homework is more of a game rather than information regurgitation and she loves it, both the therapy game and playing on her own.
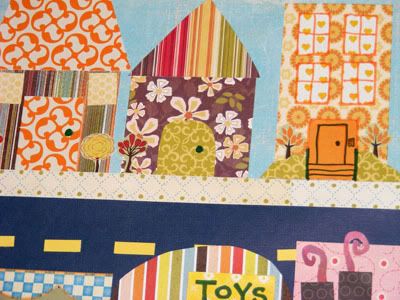
Here are some close ups. The idea to do this initially came because Caitlyn said "Now color it Mom!!" I will admit I am hard pressed to color even a whole page in the coloring book let alone an entire poster board! So the idea of coloring this board was incredibly daunting to me. Even so, looking back coloring probably would have gone faster, lol. But I had a lot more fun this way. And then using up all those scraps... major plus! I didn't glue the buildings down until I was almost done making all of them since I was using my sketch as a reference and it also allowed them to play with the board until I finished.
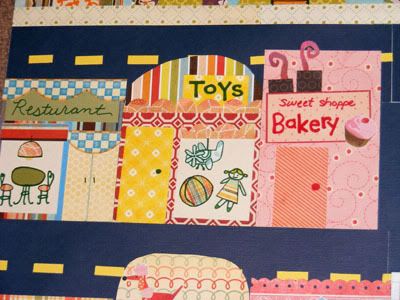
Each building was made separately, doing it in those tiny chunks made the project seem easy and the best part was that I wasn't worried about matching the entire board, just the one building I was working on. Plus perfection wasn't the goal, I hand cut all of the curvy stuff and hand wrote everything, I think it looks more fun and whimsical that way ;) The road was made using 2 full sheets of textured navy cardstock, the sky and park grass each used a sheet of MME paper - all from my to be purged pile so that was another plus too. All the other patterns and cardstock were scraps.
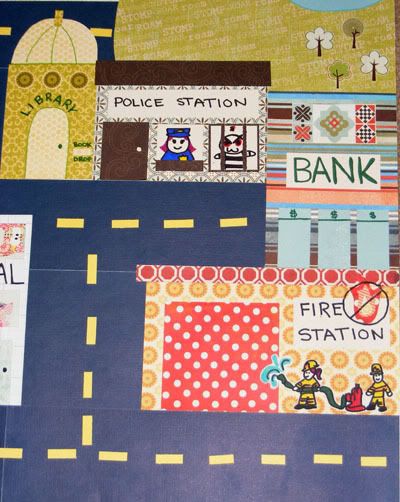
The Police Station is one of my favorites, simply because of the silly little jailed guy. I changed the officer from a guy to a gal after gluing it to the board. The firefighters were requested by both Cait and Audrey since I drew them on the sketch. I was actually planning on not making them since I didn't think I could make them look any sort of decent but they turned out alright. We've decided the little guy is in jail because he tried to rob the bank.
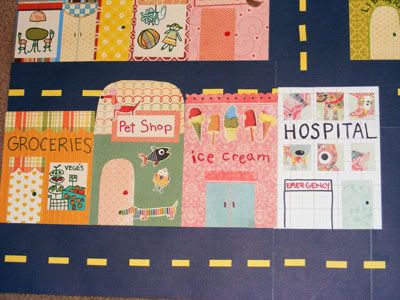
Some stores changed between the sketch and finished project, namely the coffee shop and Target. While putting together buildings I realized we didn't have a bank and also that an ice cream shop suited a kiddo project better than a coffee shop since I won't let them try more than a teensy sip, lol. Anyway, that was my creation from homework assignment to massive play project ;) The even crazier part is now I'm thinking of other places to make like the zoo, the inside of a house, the school, camping grounds, etc. I still have a lot of scraps left...