6.18.2010

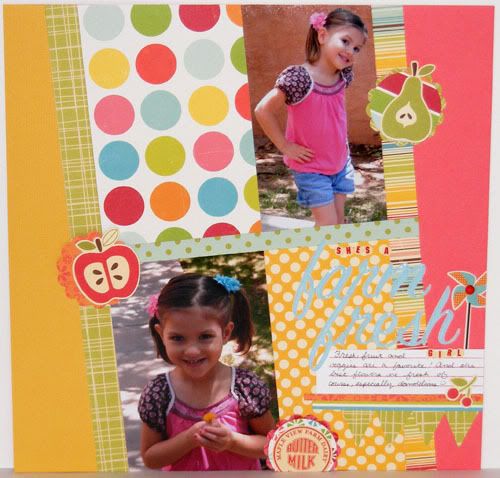
She's a Farm Fresh Girl


This is the last layout I'll have made with these Sweet Summertime papers! I hope you've enjoyed seeing all these layouts with that same set and didn't get sick of it, lol! All I have now are some smaller scraps so hopefully I'll use them up on pages or cards soon. This particular page was inspired by one made by Susan. I was really pulled into the slanted design and wanted to try it out for myself. It was a lot of fun, so different than what I'm used to. There's so much dimension on this page, I used a bit of 3D foam to build it up and if I wasn't such a night owl I might actually get some pictures with natural light so that you could see it. As it is I'm usually taking them at 11pm and have to use my flash since my lights aren't that bright inside. I think my photos come out okay for the most part, and you get the general idea ;) Another layout of A. I had so many of these cute pictures of her. Like with C blowing bubbles last year, I just took so very many, lol. I hope you've enjoyed the pages! Thanks for popping by and have a fabulous Friday!


Sweet Summertime Papers by Echo Park Paper Co.
Farm Fresh Papers by October Afternoon
Cardstock by American Crafts
Farm Fresh Stickers by October Afternoon
Sweet Summertime Stickers by Echo Park Paper Co.
Thickers Letter Stickers in Rainboots by American Crafts
Mini Alpha Stickers by Jenni Bowlin
Scallop and Circle punches by EK Success
Red Candy Dot by Pebbles
3D Foam Squares

6.16.2010

Wordless Wednesday


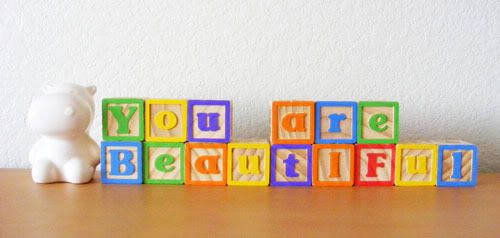
I've seen a few of these out on the blogosphere and thought it would be fun to give it a try ;) A sweet little message I made for my DDs yesterday.

6.15.2010

Summer Time


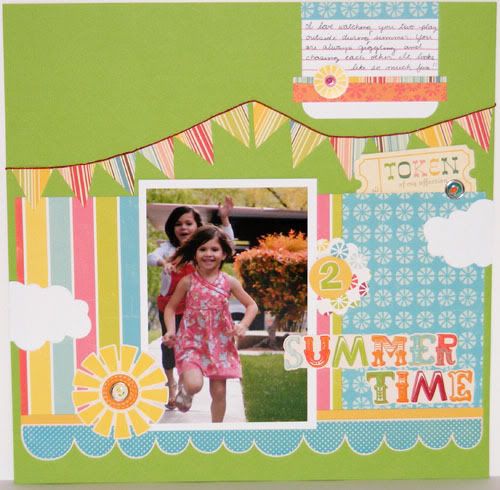
Pendant banners have become so popular and it's a trend that I adore. I'm hoping to make some for the girls' room but I'm thinking about using fabric for that and frankly I'm a little intimidated about cutting letters out of fabric or felt. However, making little banners to go on a page is much easier so I'm getting my fix that way for now ;) This layout was inspired by one at Studio Calico. Mine's quite a bit simpler but I love how it came together. The little clouds that were originally going to be with the hot air balloon worked perfectly here with the sun stickers. That main sticker sheet is nearly empty now. It makes me a little sad but also proud. All those fun goodies went to good use! This picture cracks me up. The girls love to chase each other around and it's rare that I can capture it on camera. I haven't learned how to take moving photos very well and even when I have it set to action speed I'm sure there's something more I should be doing with it. Thanks for visiting and have a terrific Tuesday!


Sweet Summertime Paper by Echo Park Paper Co.
Farm Fresh Paper by October Afternoon
Cardstock by American Crafts
Sweet Summertime Stickers by Echo Park Paper Co.
Cloud precut die cuts by Pebbles
Treehouse Epoxy Brads by Pebbles
Lemonade mini glazed brads by Basic Grey
Waxy Flax
Journaling Lines and Berry Sorbet Ink by Papertrey Ink
Token Ticket Quite Contrary by My Minds Eye

6.14.2010

Cute and Simple


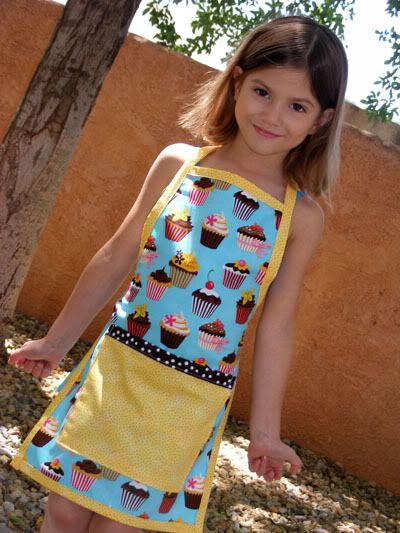
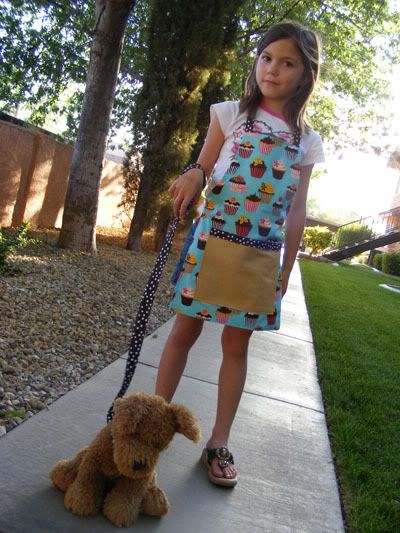
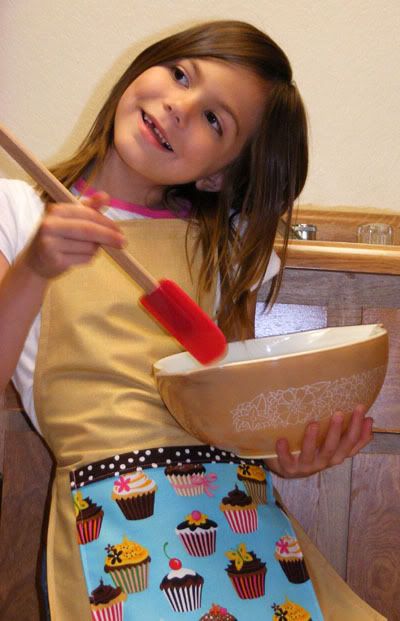
Sometimes you want something cute and no fuss. And sometimes you have only 5 minutes to get that card made and get out the door. This time was one of those times ;) I spent my procrastinated time making the apron below for a birthday present, which left me with minutes to make the card, especially since I still needed to help the girls get their swimsuits and sunscreen on, plus roll up their towels and make sure the batteries in my camera are still kickin'. In times like these my Slice is a lifesaver. Pull out a cardbase, grab a couple scraps and cut out a name or simple silhoutte shape. If it's not enough add a punched border from same said scraps and call it done. Her mom thought the card was fabulous, extra plus for quick modern style creativity!


With that quick card was the not quick apron. I had known about this birthday party for a week and a half but being the procrastinator that I am I didn't start making anything until 11 that morning with the party at 2 that afternoon. Add in lunch and the 64 times the girls asked me if it's time to go to the party yet and the apron was slow coming. But it certainly turned out cute! I thought making a binded apron would be slightly quicker than the reversable ones I made for the girls but it wasn't. It did however take up less fabric and I love the finished off look binding gives ;) I had enough left over binding from the girls aprons to do the pocket on this one. I made the rest from a remnant piece of fabric that was also used for the pocket. A's modeling it since the little girl is her same age. Doesn't she make such a darling model?

6.13.2010

Weekend Sewing : Puppy Love


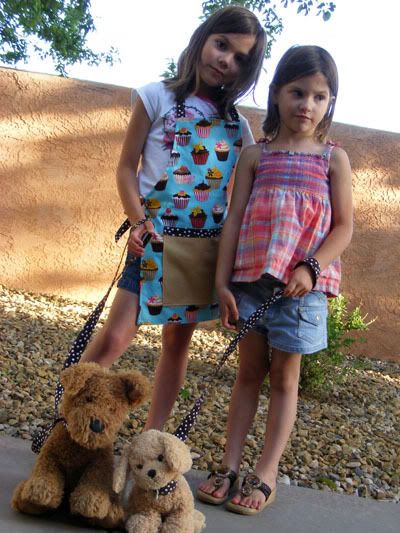
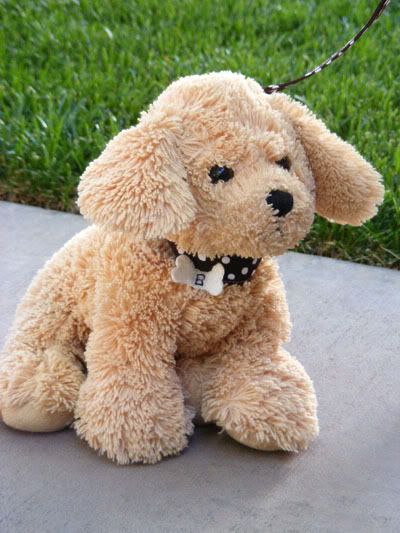
I whipped up some collars and leashes for the girls' stuffed puppies. They had been asking me for collars and at first I just tied some extra ribbon around their necks, but they kept falling off which meant I was tying ribbon every 15 minutes, lol.


First I made some simple collars with velcro closures. The tag is made from felt with a little bit of interfacing on the back for stability. I embroidered a letter for the name. B is for Biscuit ;)


Then I made little leashes that attached to the collar so the girls could 'walk' their dogs. They got such a kick out of it! Caitlyn took it seriously and took Sam outside for his walk. I tried to get her to keep him inside but she kept sneaking him out. The compromise was that Sam was not to be dragged but floated over the sidewalk, hehe. Except for the pictures of course, but only because Momma posed him ;)

6.12.2010

Weekend Sewing : Reversable Kid's Aprons


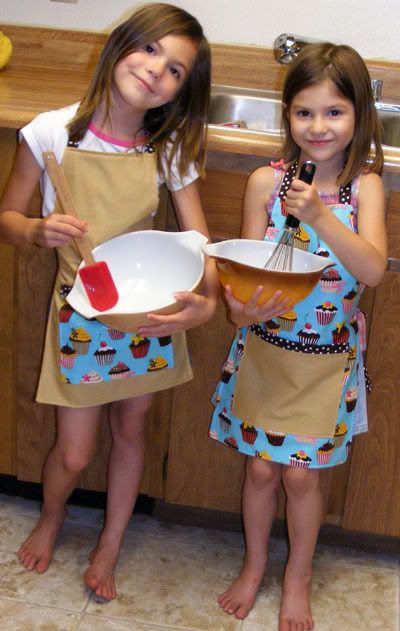
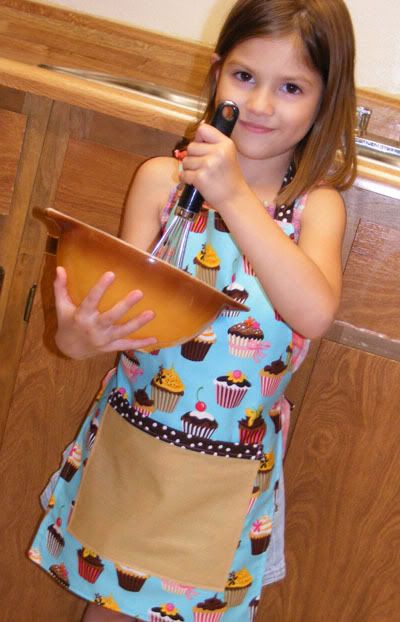
These aprons are too sweet!


Perfect for mixing, stirring, and keeping their darling clothes nice and clean.


Not to mention they look super cute and fashionable! Now it's hard to keep my girls OUT of the kitchen! I got the One Yard Wonders book back in February and finally used one of the patterns after looking through it about a dozen times (it's fun eye candy!) These were altered from the craft/tote apron in the book. I didn't really want an apron that turned into a tote bag, but I did love the simple style of the apron itself so I used the main piece pattern and pocket dimensions to make the girls some fun reversable aprons. I simply cut two main pieces and two pockets for each apron. Since I love the finished look of binding I made some 3/4 binding out of some scrap fabric for the pockets and then stitched some strips closed to use for the ties and around the neck. The binding was sewn to the pockets then the pockets to the apron fronts. Put the right sides together, pinning the ties and neck loop in place and stitch around the apron leaving about a 3-4" opening for turning. Turn right side out, iron and press the open seam closed, then do a finishing stitch all around the apron again, this will all close your turning seam as well. Viola! Cute, reversable, and tons of fun!