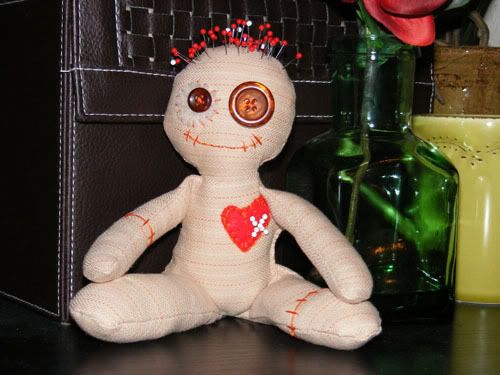
Sounds like a band! Meet Cromartie. Cromartie is my silly little voodoo pin cushion. Even though I'm an amateur, I was determined to sew a fun pin cushion for myself since I didn't have one and those simple tomatoes don't offer much in the way of inspiration. Cromartie took me way too many hours for how simple he was and I won't even show you my other failed attempts. Long story short my papercrafting and sketch skills were not enough to transcend the 2D to 3D barrier. He's much different than the doll I sketched, but in some ways he turned out even better - like the way he sits up which wouldn't have happened with the limbs I drew in his preliminary design. And I have used him a lot the past couple days as I made dolls for my girls. It's been weird to sew instead of papercraft this week!

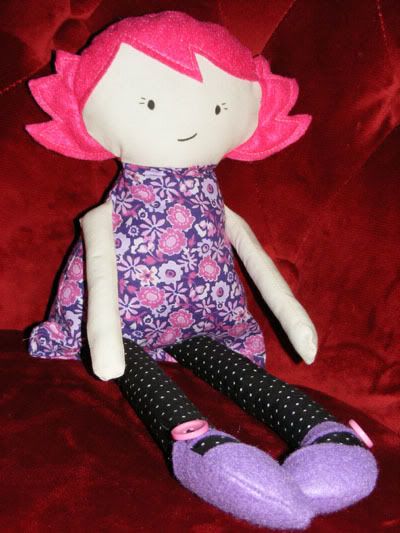
Here are the girls' dolls together. Normally I only sew flat things - baby blankets, simple square tied quilts, pillow cases - easy stuff. But after seeing some cute dolls on
Etsy and
The Black Apple I thought maybe... maybe I could make something like those. I did a lot of watching youtube doll sewing tutorials and searching Etsy for more examples. You can buy patterns but I didn't want to spend that much money on someone else's pattern if I could come up with my own, especially when they seemed simple. Some of the dolls and patterns seem pricey but after creating my own I can understand why. Just making the doll pattern took me about 4 hours (with interruptions). I sketched everything first then went over with my sharpie to emphasize the correct lines before cutting out the pattern pieces.

Cromartie was so instrumental in teaching me how to sew a stuffed piece while I made him. All the strife I had creating him made putting together the dolls so much easier. Plus he's a lot smaller and I've discovered it's easier to sew a bigger doll like these than a small one like Cromartie. This doll is Audrey's. She picked out light pink hair. The hair and shoes are felt and the rest is quilting fabric. Remnants and fat quarters are my new shopping favs. Some papercrafting supplies made it onto her as well with My Minds Eye buttons embellishing her shoes and some grosgrain I had in my stash for hair bows. I know, technically those were sewing items before they were ever papercrafting ^_~

Caitie's doll is wearing her favorite color - purple. She picked out hot pink for the hair so I decided to give her rocker girl type colors with the black tights and purple shoes. This doll's hair was much easier to sew than Audrey's and I'm thinking the next time I just won't stuff the buns. I drew their faces on with a fabric marker - way easier and quicker than embroidering which was what I had originally planned. Now the best part is that they LOVE these dolls! They have never shown the interest or love in the store bought dolls as they have with these and it makes me even more proud of them because the girls cherish them so much :D Anyway, it looks like this became a triple doll Thursday instead of a triple card. I hope you enjoyed the change in crafts and have a terrific Thursday!
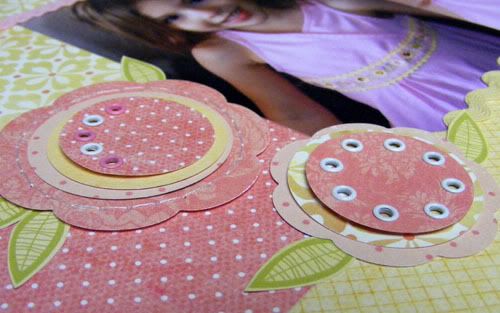
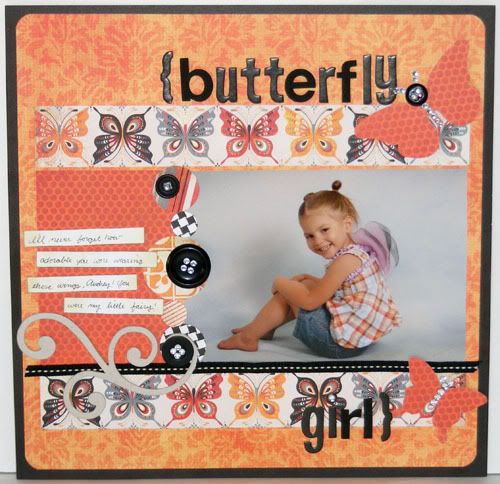
 Supplies : Paper by Scenic Route; Ink, Cardstock, and Classmates Alpha stamp set by CTMH; Thickers letter stickers and ribbon by American Crafts; Waxy Flax; Buttons open stock at LSS; Scallop Nesties
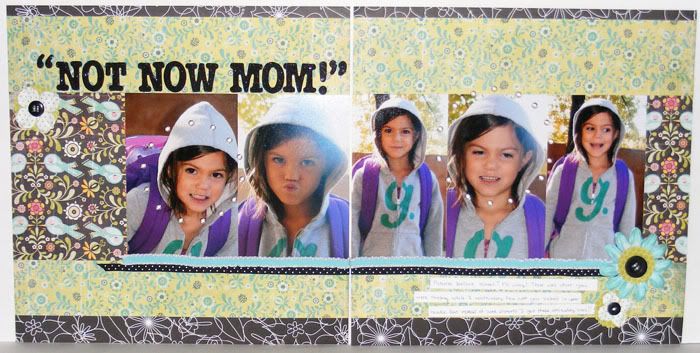
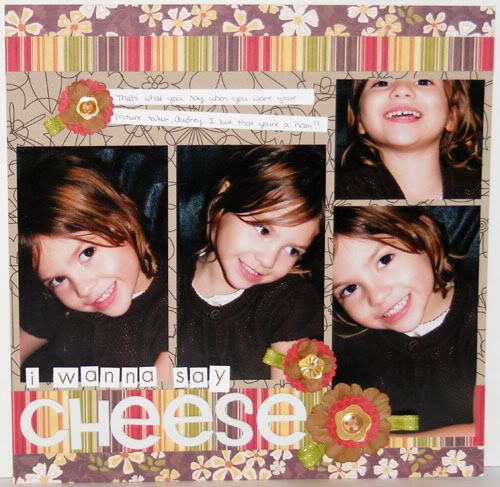