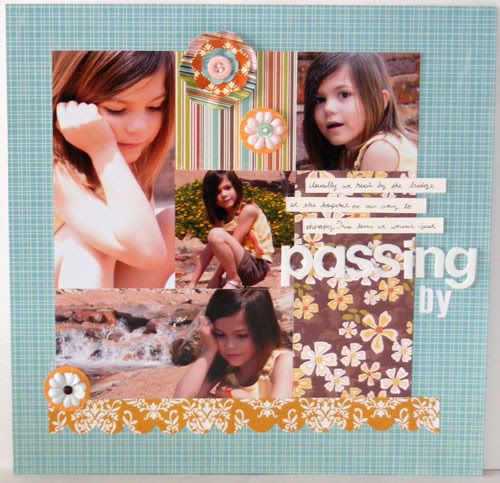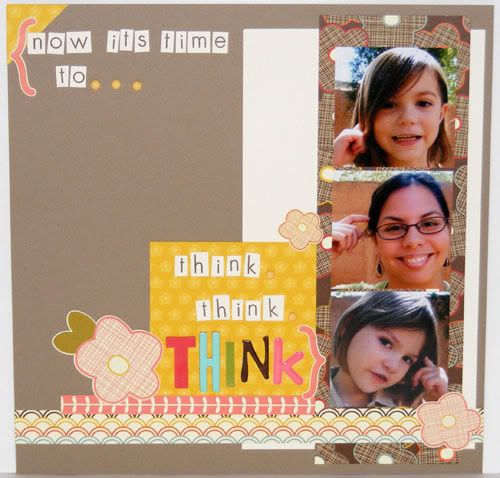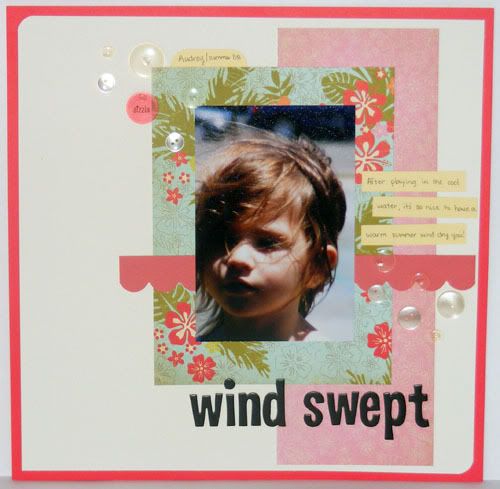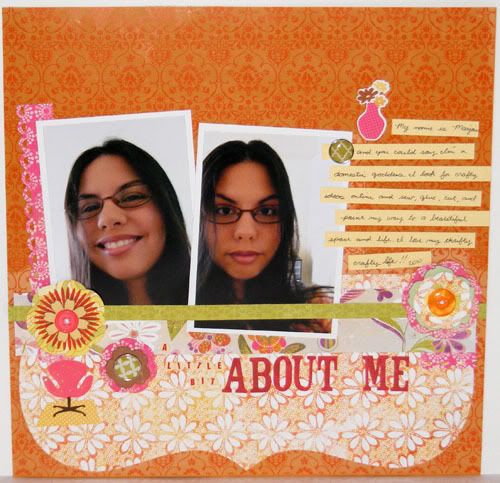
Like with the last set I was hoping to get some of the hubby or I scrapbooked as well. We don't have too many photos of us but that doesn't mean I shouldn't let them sit and not scrap 'em ;) What I really need to do is make a list of pages I want to make about us. Then I can search through our photos and if we don't have one to go with the story than we should plan a few photo poses just for those. This page uses the #32 sketch on Inspired Blueprints
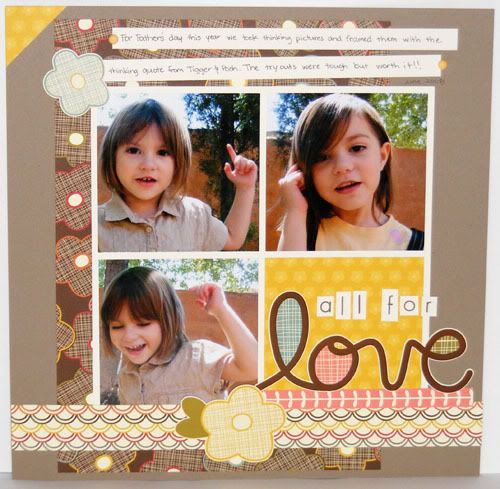
I would like to see more of us together and individually, as well as with the girls. The more pages I scrap the more I realize I really need to be in some pictures with my kids. I've always been there behind the camera and I need to be in front of it more often. I know I say that a lot, but each time I do I get slightly better with it. Baby steps, right? ;) With A and C taking pictures every so often now I think it might get a little easier to do this.

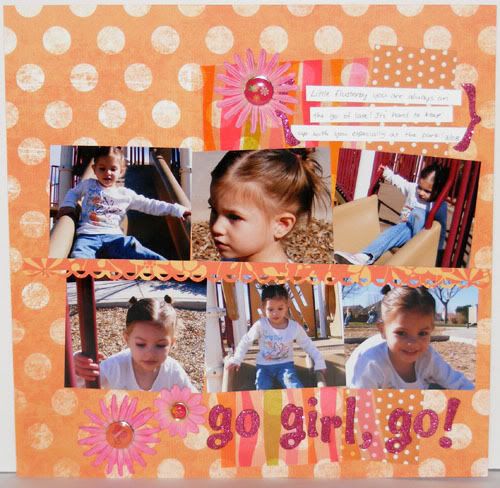
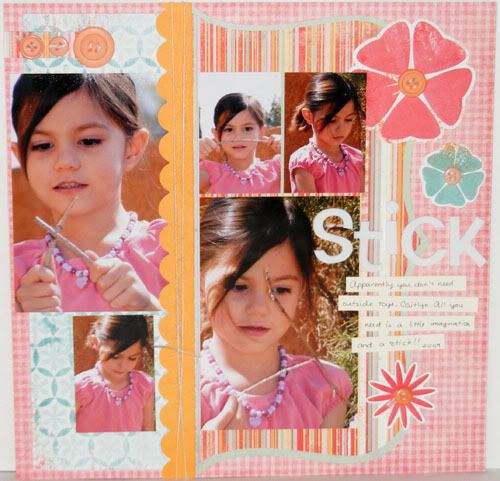
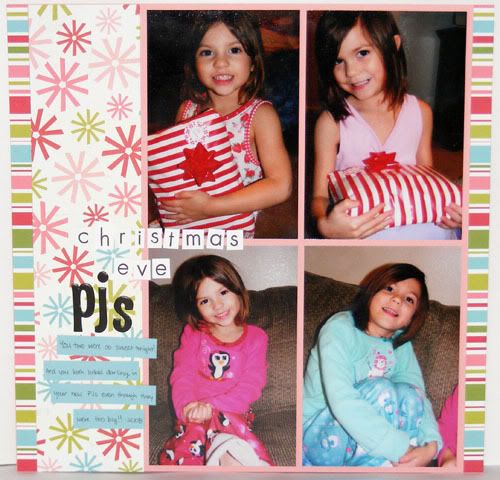
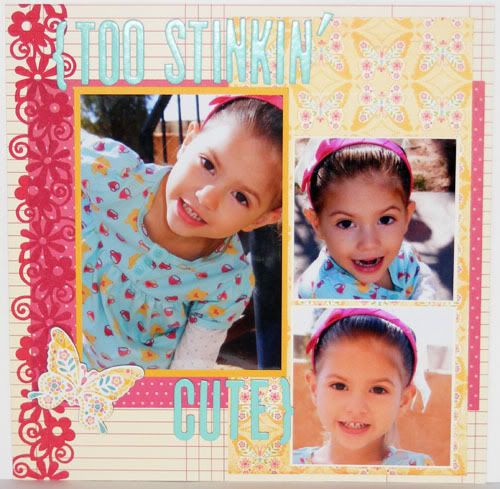
A was actually taking some pretty good ones this last week and since that day I first let her snap some shots I hear 'I can be careful with the camera' all the time. That's her way of saying she wants to take pictures. Even though I still have a mild heart attack whenever her tiny hands hold up the camera she's never dropped it and does a pretty good job at keeping it safe. And now that I've taught her how to hold my camera she doesn't get any finger shots or finger prints on the lens anymore. I should make a cover for my camera strap (because it's too ugly to be on there by itself, lol) so that I can avoid those mini heart attacks ;)
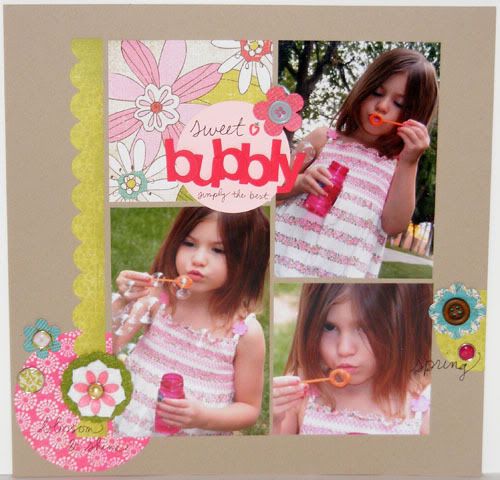
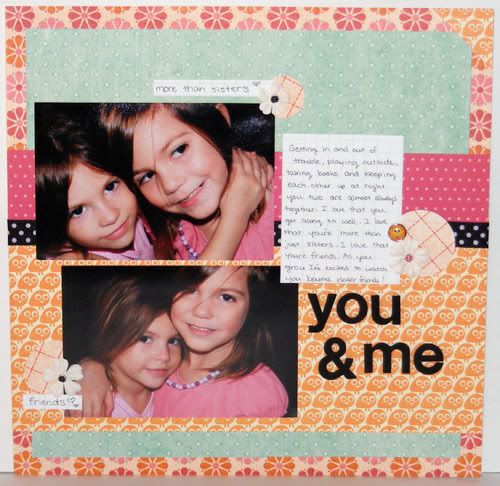
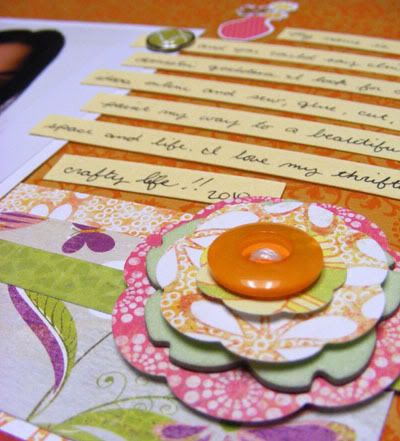
Green at Heart and Lime Rickey Paper by Basic Grey
Transparency by Making Memories
Cardstock by American Crafts
Fieldhouse Flocked Boutique by American Crafts
Adobe Remarks Stickers by American Crafts
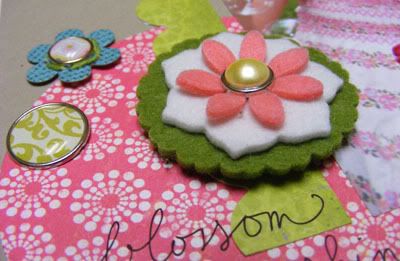
Lush Decorative Brads in Green by My Minds Eye
Buttons by Papertrey Ink
Rubon by Bo Bunny
So Sophie Savvy Alpha Stickers by My Minds Eye
Mini Red Alpha Stickers by Jenni Bowlin
Apron Lace Punch by Fiskars