 Supplies:
1 sheet patterned cardstock paper
1 sheet neutral cardstock
1 sheet (or a half sheet scrap) dark coordinating cardstock
1 sheet (or ¼ - ½ sheet scrap) light coordinating cardstock
Scoring tool (Scor-pal or scoring blade for your paper cutter)
Scissors
Strong Adhesive
6x6x1 inch acrylic box or empty Papertrey Stamp Set Box
Other misc design supplies:
Circle punches
Scallop circle punch
Snowflake punch
Ribbon
Embellishments
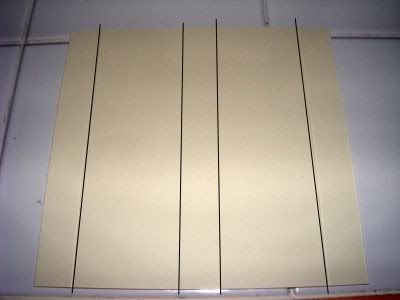
Stamps and Coordinating Ink  Starting with the Cocoa Box, cut a 5” x 9 ¾” piece from your neutral cardstock. You will be scoring across the long way of the paper at ¾” , 4 ½” , 5 ¼” , and 9” . Here is a quick glance at where the score lines should be on your paper: Now you can turn your paper over to stamp whatever design you wish. Your scored lines should be raised on the side you are stamping.
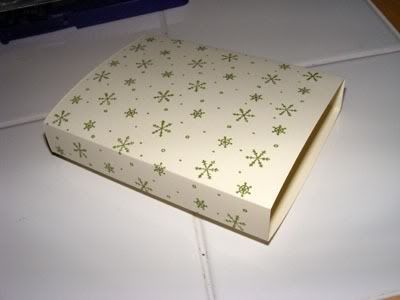 After your paper is stamped, crease your cardstock at the scored lines like so and then glue the side flaps together. This is what your middle piece should look like after it’s done. You may notice that I didn't stamp all the way to the bottom. That is alright because that part will have the bottom cover glued to it so it won't show up in the finished design.
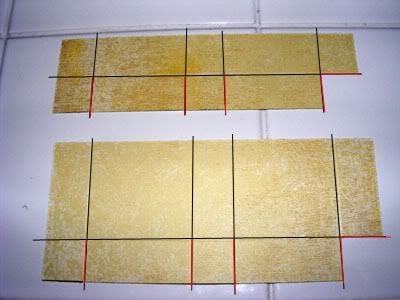
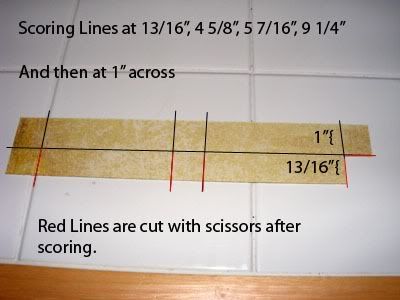 Next is the lid and bottom. Both are exactly the same for the cocoa box. Cut two pieces 1 13/16” x 10 1/16” from your patterned cardstock paper. One for the bottom cover and one for the lid. Starting long ways, scor on the wrong side of you paper at 13/16” , 4 5/8” , 5 7/16” , and 9 ¼” . Then score down the paper vertically at 1”. Here is about what it should look like.
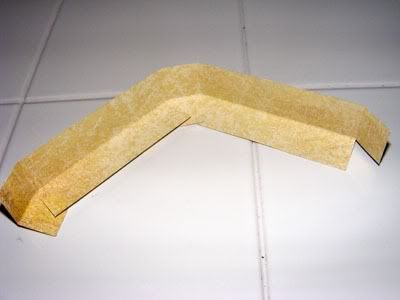 You are going to cut on the red lines, following your score line. This will allow you to fold the base of the covers. The 13/16” flap will fold over to create the ends so make sure you are cutting the right score lines. Trim the extra flap on the right for easier construction. I fold the little flaps in first and glue the large center flap over them. Then I fold over the other large center flap and glue it.
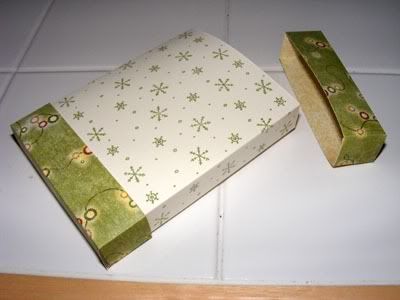 Do the same thing for the other piece to create both top and bottom for the cocoa packet holder. Glue the bottom to the center base to create the cocoa holder. Do not glue the top. You want them to be able to get into the cocoa without tearing up the box. It helps a little to put the cocoa packs in it as soon as you get it together, that way the adhesive stickes better to the edges.
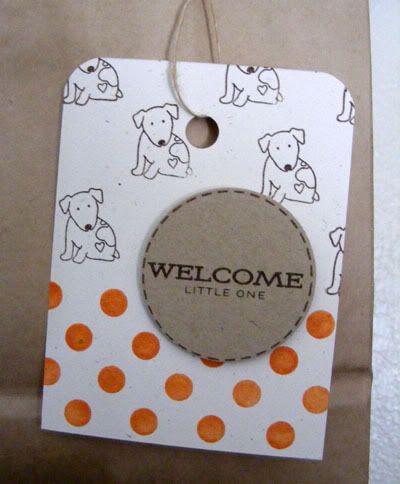
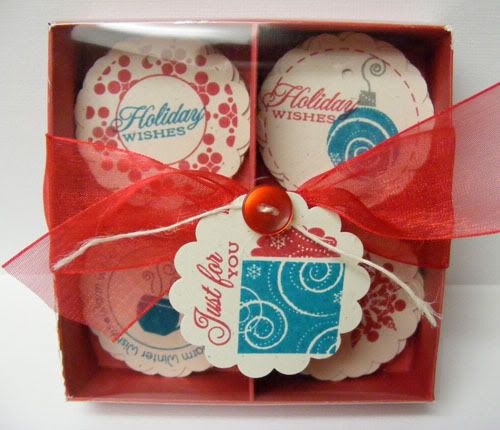
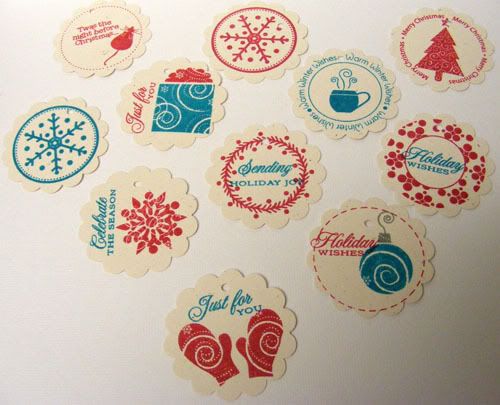
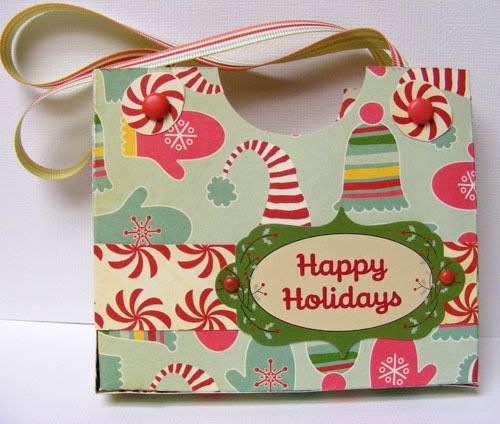
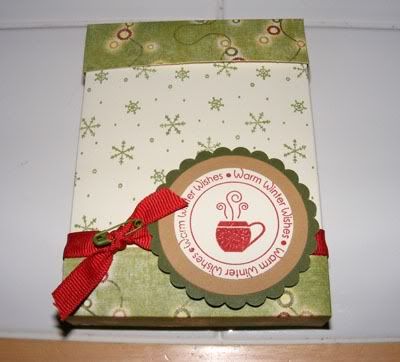 Lastly embellish it the way you like. I used the 2008 Holiday Tags stamp set by Papertrey Ink, CTMH cranberry ribbon, topiary safety pins, and cardstock, a pink marvy scallop circle punch and other circle punches to create my tag. Two coordinating colors of cardstock scraps were used to layer the tag and I punched the stamped image from the neutral cardstock I’m using for the centers. Glue dots were used to keep the ribbon stationary and I carried out the safety pin theme on the ribbon throughout.
 The Candy Cane holder will be made exactly the same way but with different dimensions for it’s box. Note that with the candy cane holder the lid is larger than the bottom though. Let’s start with the center base piece again. Cut from your Neutral Cardstock a 6” x 6 ¼” piece. You are going to be scoring across the 6 ¼” length at ¾” , 2 ¾” , 3 ½” , and 5 ½” .
 Again flip it over and stamp your design out, then fold it in and glue the flaps together. Remember that if you are like me and want to do as little stamping as possible, to only leave some of the bottom blank where the bottom cover will go. The lid is made to go on and come off so you will want to continue your stamping all the way to the top for it to look nice :D
 For the bottom cut a 1 13/16” x 6 9/16” piece from your patterned cardstock. For the lid cut a 2 13/16” x 6 9/16” piece from the patterned cardstock. They will have all the same lengthwise scoring points. Score across each at 13/16” , 2 7/8” , 3 11/16” , and 5 ¾ “ . For the Bottom score vertically at 1”. For the Top score vertically at 2”.
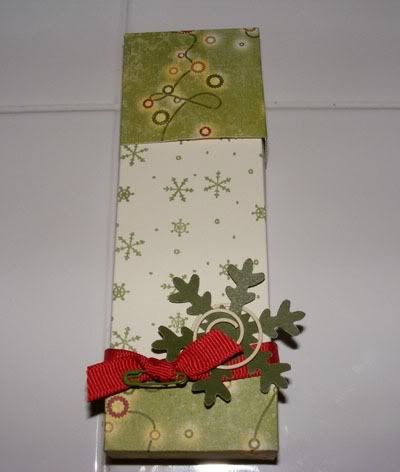 The 13/16” flap will fold over to create the ends just like with the cocoa box. Fold them together just like the cocoa lid. Glue the bottom to the center base and leave the top free for the lid. Decorate as you like. Here is my finished Candy Cane box. Since it is a bit skinnier than the cocoa box I opted to just put a punched out snowflake instead of creating a stamped image. I continued the ribbon and safety pin theme and this time added a fun little spiral to the snowflake for embellishment. This box will fit four regular sized candy canes if you put them in two right side up and two of them upside down. It's already a pretty tight fit so I'm fairly certain that the fatter candy canes won't fit in this box.
 Now you can use these boxes as they are in a mini basket with a couple mugs and a bag of marshmallows to go with the hot cocoa, but if you are like me and have some Papertrey Stamp boxes hanging around these two boxes fit perfectly inside and even have a little space above the hot cocoa box to put a little bag of marshmallows. I did not take off the polka dot stamp packaging. It is easier toglue your new paper and cardstock right on top of it.
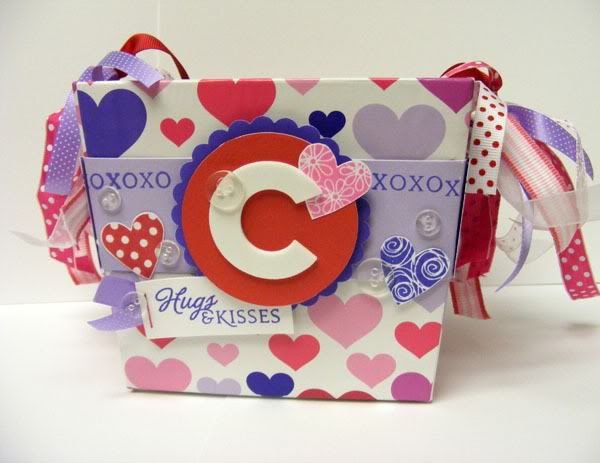
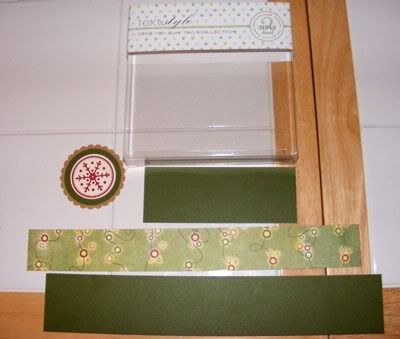
 You will need to cut from your dark coordinating cardstock one 2 1/16” x 12” and one 2 1/16” x 5 ½” piece. From your patterned cardstock cut one 1 ½” x 12 inch piece. Align the center of your 12” long cardstock piece to the center of the box and then wrap around. I like to crease the sides a little more before I glue it so that the paper lies more flush. I also glue down the cardstock before adding the paper. It seems to hold better that way.
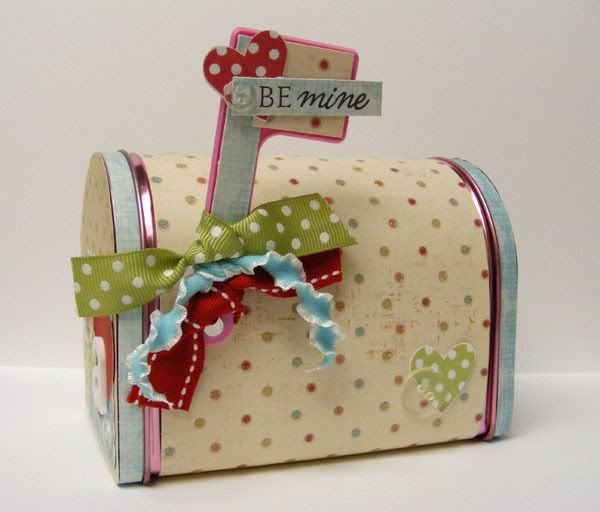
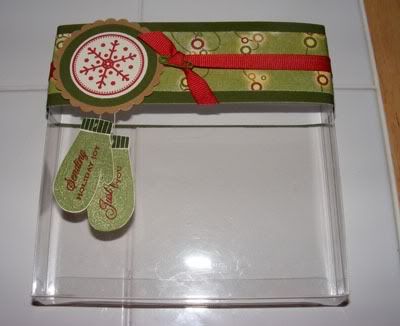
 The smaller 5 ½” piece will cover the space in the back. Before you put the back piece on though, glue on your pattern paper first. Once the back piece is on decorate the front as you like. I put the ribbon on right after adhering the paper then used the same two stamps I had used throughout making the mini boxes, the Snowfall set and the 2008 Holiday tags set.
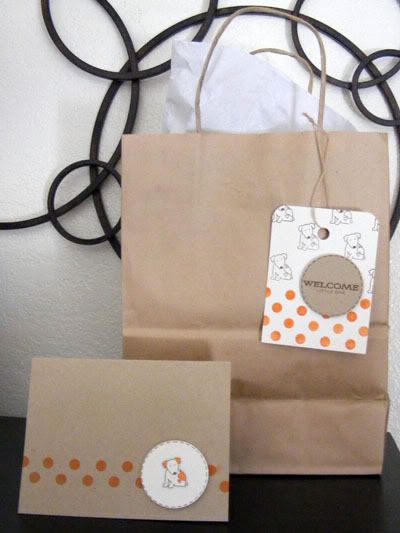
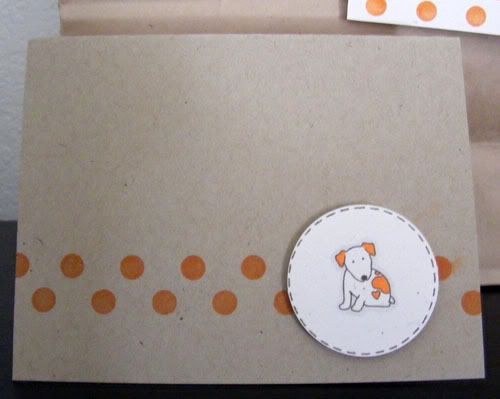
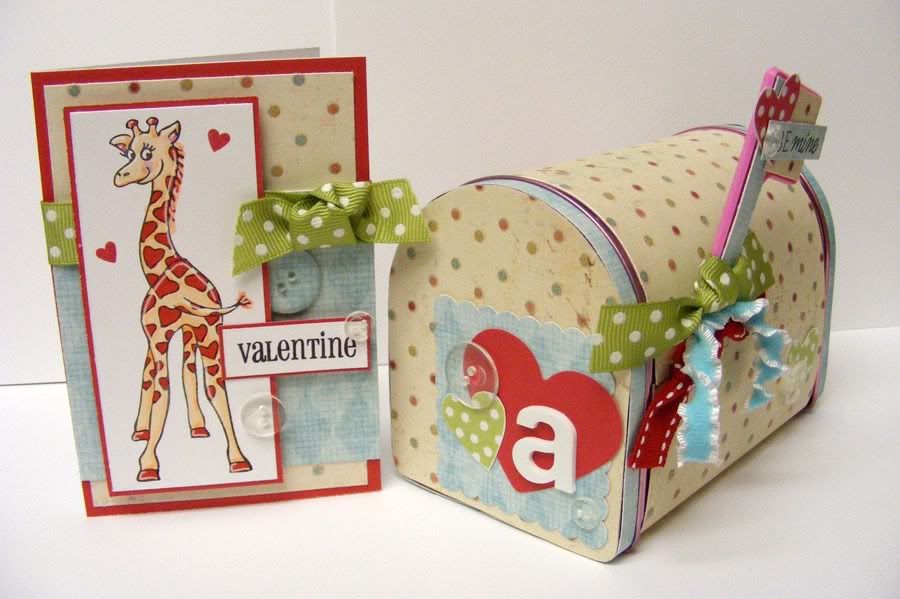
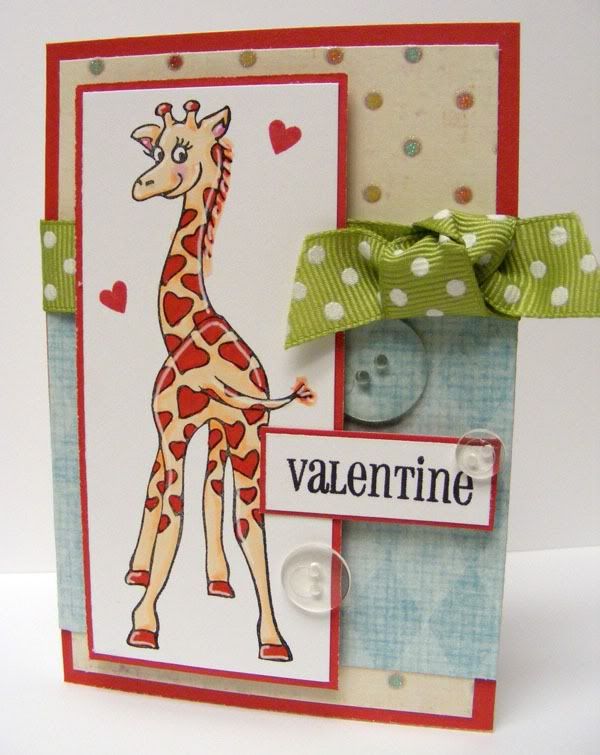
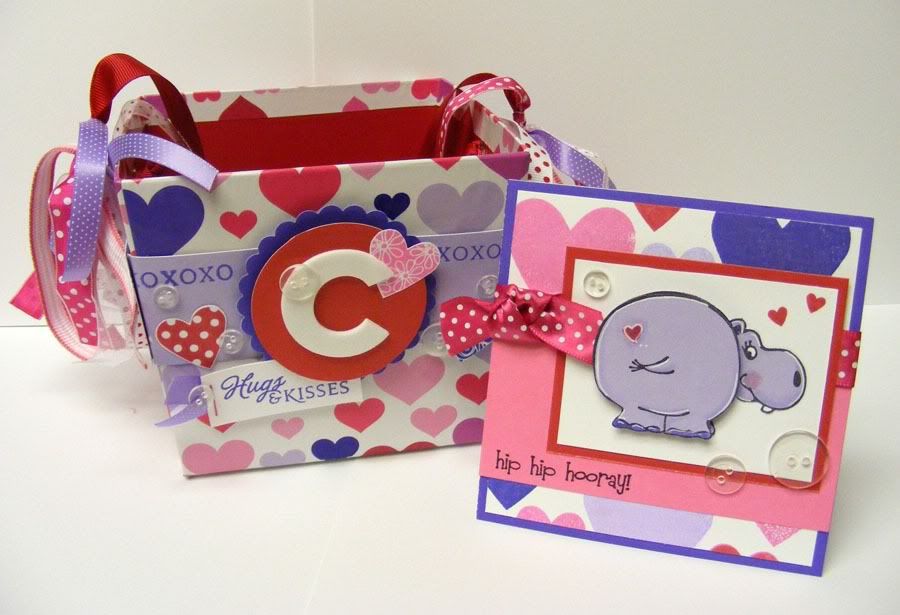
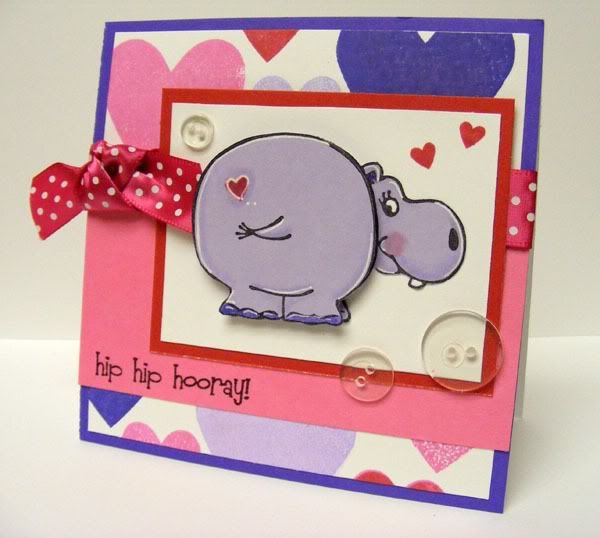
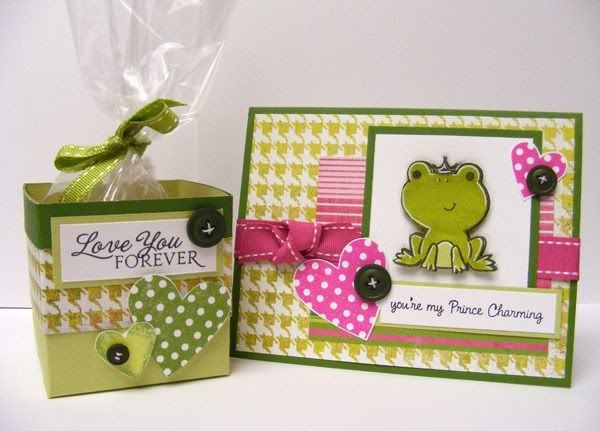
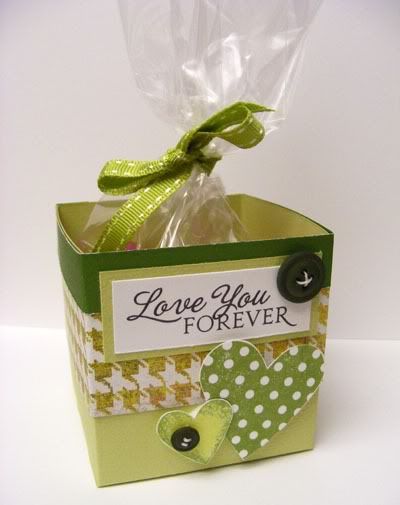
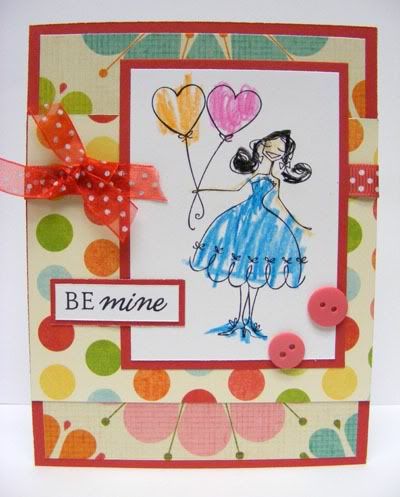
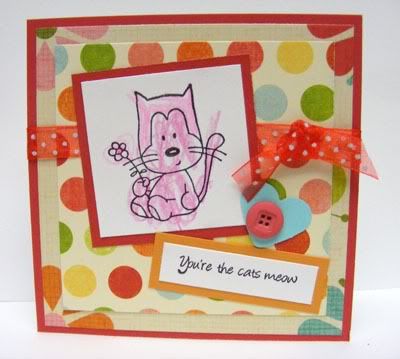
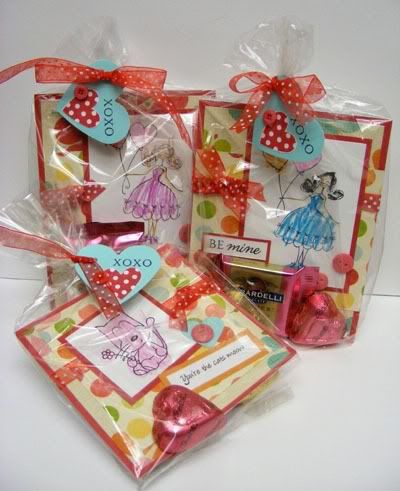
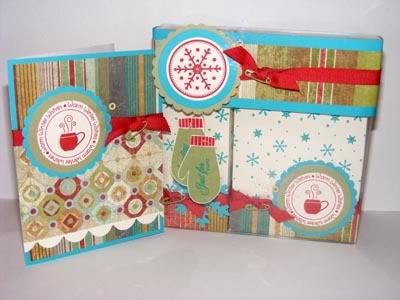
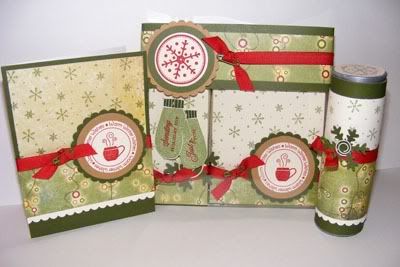
You can use the scraps you had left over to create a cute matching card like I did here. You can even go a step further and add more fun dressed up recycled packaging to the gift set like I did with this empty CTMH embellishment tube filled with chocolate. The finished set:
I hope I did okay on my first tutorial, lol! Have a Happy Tuesday!!