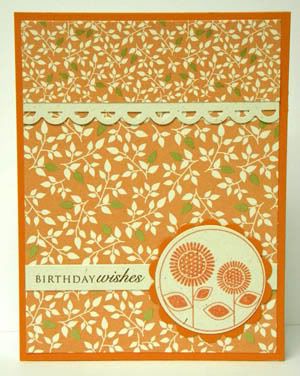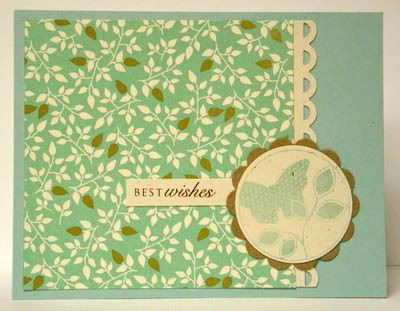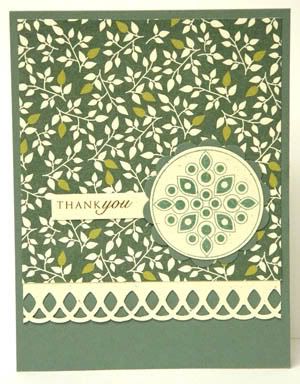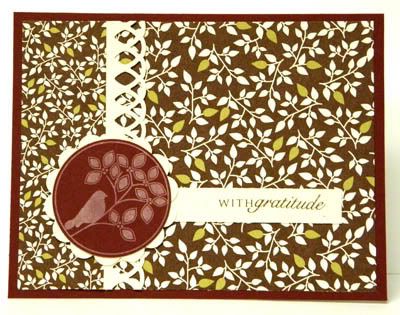
Showing posts with label Gift Sets. Show all posts

12.20.2011

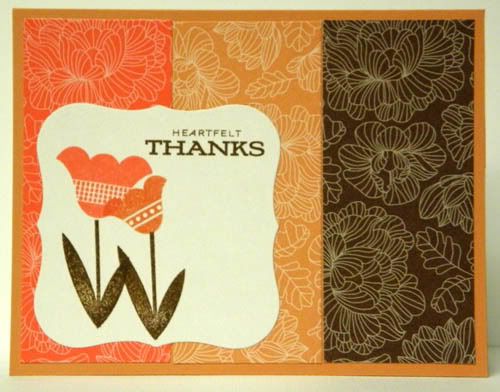
Sister Cards - Tulips


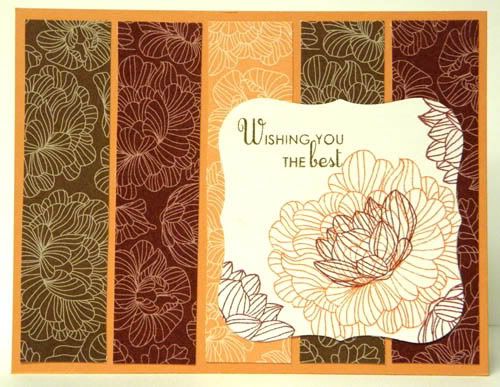
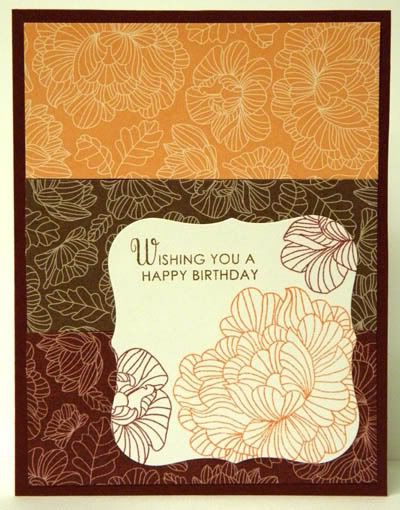
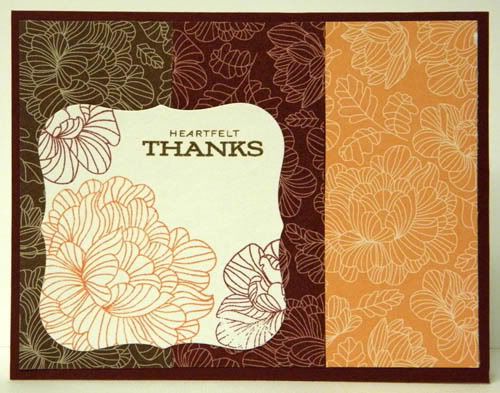
I saved my favorite for last. I really love these tulips and the set is so fun to play with. I'm hoping to get in some time to create a fun little set for myself with these tulips ;) The colors speak very cozy to me, like a warm quilt and a cup of coffee. I know I usually think of spring and summer when I see tulips, but I kind of like that they are cozy here.


And this is the last set that I made. Everything else is just baked treats for our extended family. This year I'll be making cowboy cookies (peanut butter oatmeal chocolate chip) and ginger chewies ;) Maybe I'll snap a pic of the gifty bags and their tags. I simply did another mass produced tag and paired it with regular kraft gift bags. Anyway, I hope you enjoyed seeing all these mini sets. Have a wonderful week getting ready for the holidays! 

12.19.2011

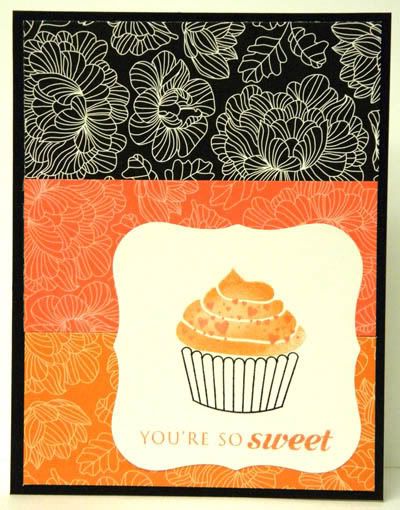
Sister Cards - Sweet


Today is my 30th birthday! Is it strange that I'm happy to finally be in my 30s, lol? I've always felt older than I am, pretty much all my life. Now that I am 30, I finally feel more like my age ;) Anyway, I decided that since it's my b-day, I'd post the cupcake set I made for the sister cards. This was one of my favorite sets, mostly because I just love the cupcakes. This is definitely my go-to birthday stamp set. As for my day, I'm not doing much really and that's perfectly wonderful for me. The kiddos are still in school and I've been hustling to make the last of the Christmas prezzies. Today will be all about relaxing though. I'm planning on doing whatever I want, so probably reading, lol. The hubby will be taking me out to dinner tonight so I won't have to cook either ;)


However, I will be making a cake. For Cherry's b-day she had requested a chocolate cake with strawberry icing. I hate canned icing so I decided we'd just pick up some strawberry extract and I'd make the icing like I usually do. Only we couldn't find strawberry anywhere. But we did find raspberry and luckily she's an easy going girl and was okay with that. So I made chocolate cake with raspberry cream cheese icing and it was SO GOOD! So, I decided that for my birthday we'd double it up and make it a chocolate raspberry cake with the raspberry cream cheese icing (in addition to the hubs already taking me out to dinner and having dessert there as well, lol). So I'm excited for that, and a day off ;) Anyways, I hope you all enjoy the cards and have a happy Monday!

12.18.2011

Sister Cards - Cheerful


These colors remind me of summer and sunshine. Plus the stamps are just very cute. Cherry loved this set, probably because of the bright colors. I really enjoyed mass producing all these cards. There's something about seeing them all packaged up pretty. I stacked and wrapped them with a cardstock strip then added a punched out label that I printed out for the card sets. They look so nice and Paul even said they looked all professional ;)


My favorite is the bird, probably because I was able to fit in the text flourishes on those cards. Though I do love those little tea cups. I only wish my ink came out better. It's really faded or dried out or something since the last time I used them (which was probably over a year ago!). Ah well, they still look pretty cute and that's what matters ;) Enjoy and have a lovely Sunday!

12.17.2011

Sister Cards - Woodland


This set was one of the most fun to make. I just love animal themes, especially these cute woodland creatures. I don't use them as often as I should though (that probably goes for all my stamping stuff!) One of these days I want to go through the set and just make a least one card per sentiment since the add on had so many fun sentiments in it. This skunk is still one of my faves, probably because it reminds me of my girls. They are so cute and yet they can be such little stinkers, lol!


The sister that this card set is for seems to have more guy friends than girl friends, or maybe they just do more with her hubby's friends, I'm not sure. Anyway, I wanted to make a set for her that could work for both guys and gals just in case ;) My hubby says that just getting a card is awesome and that I shouldn't worry about it too much, but I know when I make him cards I want them to be more masculine. Anyhoo, thanks for stopping by and have a wonderful weekend!

12.16.2011

Sister Cards - Elegant


For my sister and sister-in-laws I made little mini sets of 9 cards each. I wanted to make them at least a little customized, so I picked different color schemes and stamp sets for each sister. That way, if they gave them to each other or to the same person, it wouldn't be the exact same card ;) Here's the first batch.


I used the same formula for all the card sets. One of the top card, using the last scrap pieces and then four each of the two 3-panel cards. I know everyone can use extra birthday and thank you cards so those were the ones I made. Just really quick and simple, but something fun to get aside from the yearly goodies I bake. This set came out the most elegant ;) I hope you enjoy. Have a fabulous Friday!

12.14.2011

With a Tea Theme


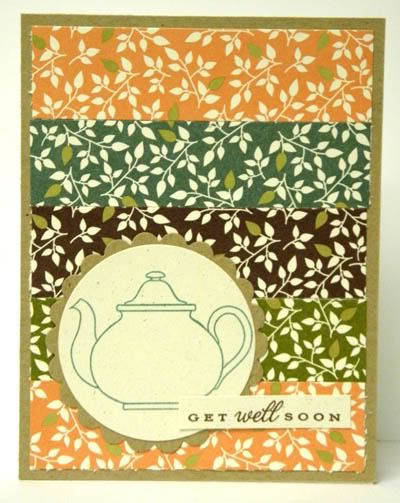
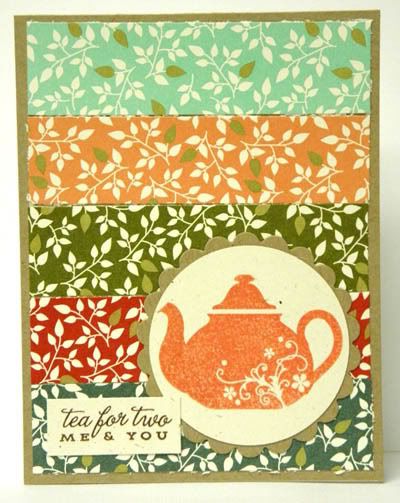
These are the last cards that I added to my moms' sets. This stamp set is so fun and it's been a while since I've played around with it. This time I used some an easy stripey pattern on the cards with various colors from the green tea leaves paper set.


And that's all of the cards in my mom and mom-in-law's gift sets. I also made a few extras to go in some gifty sets for a couple close friends as well. I know they're nothing fancy, but I'm proud of them and it makes me happy to know they will be appreciated and enjoyed ;) I hope you guys enjoyed the cards too! Have a lovely Wednesday!

12.13.2011

Tulip Set


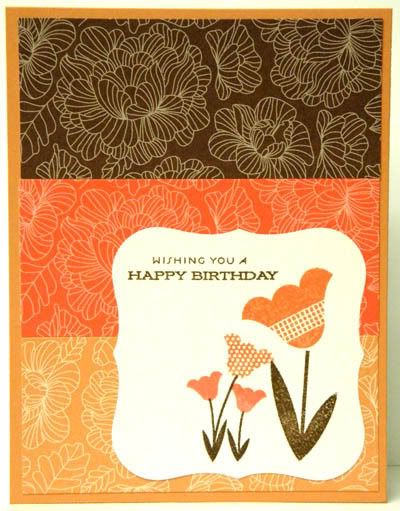
One of my favorite kinds of flowers are tulips. So when Papertrey came out with this set, I got it almost immediately. Unfortunately I haven't used it very much. So with my gifty cards I thought to change all that. These are part of the gift set for my mom and my MIL. Again I stuck with the 4 of each card so each set would have 2 of a kind.


They are simple like the other ones. I really loved playing with the set! And using up these green tea leaves papers is an extra plus. I love it when I use up supplies! Anyway, I hope you enjoy and have a wonderful Tuesday!

12.12.2011

Quick Cards for Gifting and Giving


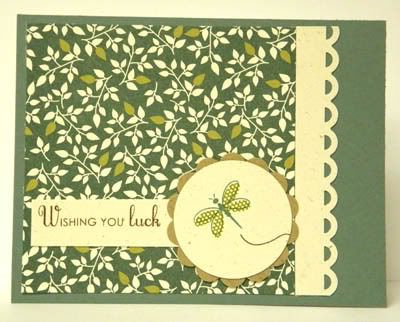
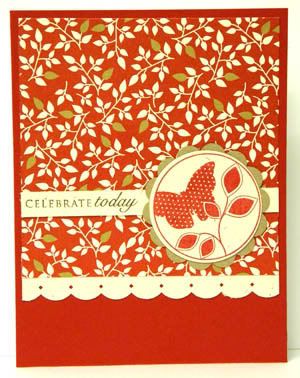
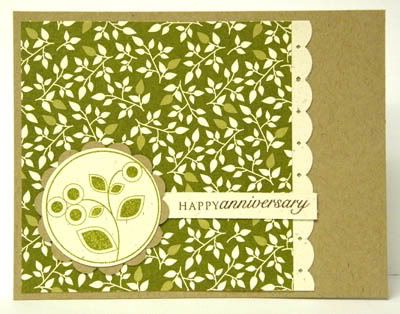
I'm sorry for being MIA for so long! The last couple months have gone by so quickly and this week I will finish the last of my finals (yay!) Cherry's birthday last week was a blast and Thanksgiving was wonderful. I hope the fall and winter have been treating all of you well ;) So for my first post back after the past two months I thought I'd share a quick little Christmas gift to whip up. I've made these over Thanksgiving weekend but haven't had the chance to snap pics of them and post until now. Using one all around stamp set (I believe the 2010 anniversary set from Papertrey Ink), I created this first round of simple cards from supplies I already had on hand. These took a couple hours to make two sets - one for my mom and one for my MIL. There are 4 of each card - 2 per set.


There is just a 4x4 piece of pattern paper paired with a stamped image that's been punched out with a circle punch and matted on scallop punched cardstock. Some of the cards I used an extra strip of 1.25" pattern paper in the smaller print, mostly to use up extra paper I have on hand. I also added pretty little punched borders, but overall the cards are very simple and no fuss. Plus they are flat for easy mailing, something I've noticed my relatives have a hard time with if I give them embellished cards. They are fun little notecards for people who aren't as into the crafting scene as I am. I can make a lot of these really quickly too, which makes them great for a simple gift. This is just the first batch that went in the big set I made for my moms. I'll be posting the rest of sets I made them and the sets I made for my sis and SILs later this week and next. In the meantime, I hope you enjoy and have a lovely Monday!

12.19.2010

Cider Mini Gifties


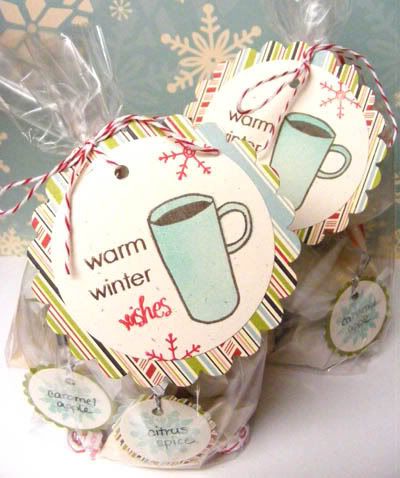
It's my b-day today and all I can really think about is getting stuff ready for Christmas, lol. I do so enjoy making mini gifts. They're fun and easy to put together and who doesn't love a special little treat? Last year I did hot cocoa, and while I know I could probably do cocoa every year I thought it would be fun to try out ciders this year. These are the finished baggies, complete with tags, candy canes, and peppermint kisses.


And here's the little cider bags themselves. I kept to simply making enough mini gifts for the family we're mailing out to this year. Family close to us will get baked goodies with fun tags like these as well. And don't worry, I won't spend my whole birthday making gifts for other peeps ;) Have a lovely Sunday!

12.17.2010

Easy Fringe Fleece Scarves


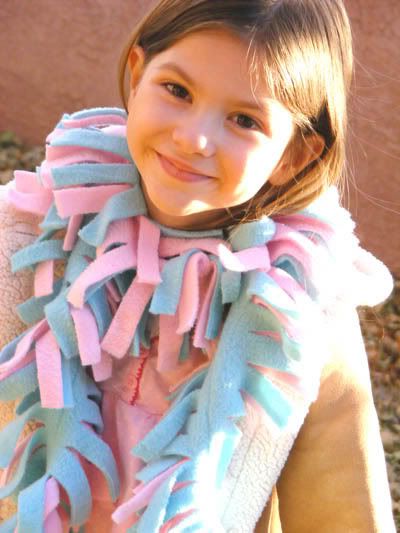
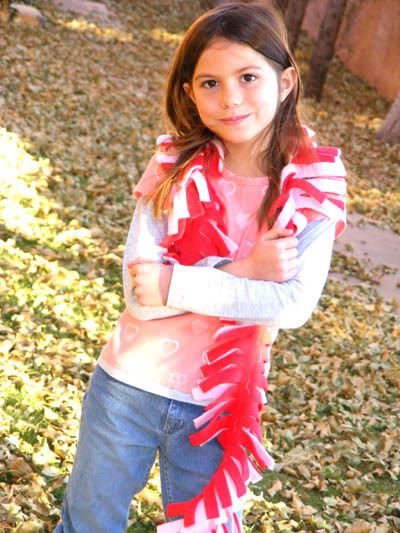
Aren't these just so cute! I've had a stash of fleece remnants hanging out in one of my fabric bins for a while, so I thought it would be fun to see what kind of tutorials are out there for fleecey scarves. This Easy Fringe Fleece Scarf tutorial caught our eyes and I knew immediately that we needed to try it out. The girls picked their colors from the stuff I had on hand, which was super fun for them. Then they watched me whip them up!


I ended up making theirs 6" wide by about 45" long. I just cut selvage to selvage and then trimmed the selvages off. Right sides facing out (note that most fleece doesn't really have a 'right' side - mine had a fluffier and flatter side, so I used the fluffier side as the right side), sew a seam down the long side middle to hold your two or three colors of fleece then cut strips all the way down one side of the seam taking care not to cut through the seam itself. I gave myself a good inch away from the seam. Repeat on other side of the seam. Shake up your scarf, both to mix the fringes as well as shake off the extra fleece fluff ;) The fleece won't fray and these are super quick and easy to make! It took less than 30 minutes to whip them both up! These would make great handmade Christmas gifts for the little girls as well! If fringe isn't your style Grosgrain and One Pretty Thing have a wonderful list of different style scarves to DIY. I hope you're all warm and cozy this winter ;) Thanks for stopping by!

11.24.2010

Frugal Christmas : Crayon Holders


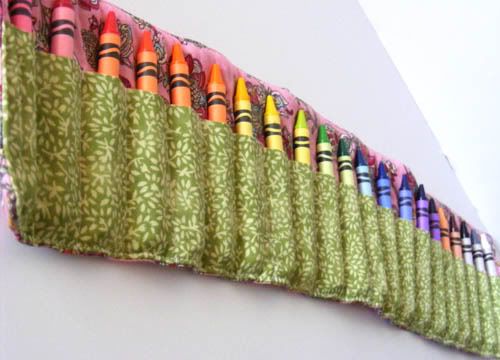
My first Frugal Christmas gifts were for adults, but we also drew a niece and nephew as well for our family's get together. I usually keep some coloring books on hand for our girls and last year we ended up with a lot of extra coloring books, which is perfect for some frugal giving. I had also bought quite a few boxes of crayons with the 2009 back to school sale - 20 cents a box! While a box of crayons and a couple books would probably be fine, it's much more fun to have something to put your crayons in! So here's my second Frugal Christmas project - crayon rolls. The particular tutorial I used was one I downloaded a long while ago and can't seem to find the original post, but Fiskars has a darling simple roll tutorial designed by Susan Weinroth, and Skip to My Lou has a fun ric rac version as well if you want to make your own ;) Since I didn't have extra batting hanging around I used some extra fleece scraps I had in lieu of batting, it worked great!

Here's the inside of the roll. These are so cute and fun, the girls have been begging me to make them some too, so you can probably bet that I'll be making some for them as stocking stuffers ;) We'll be heading to my SIL's tomorrow for a Thanksgiving BBQ and then Saturday we'll have a traditional thanksgiving at my MIL's. Friday will be our usual Christmas decorating fiasco! Anyway, thanks for stopping by and I hope you all have a fabulous Thanksgiving!

11.21.2010

Frugal Christmas : Rice Hot/Cold Packs


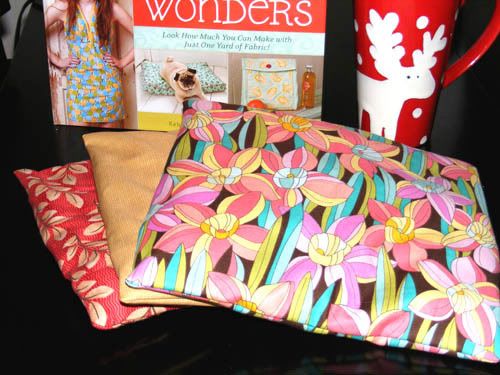
Thanksgiving is nearly here which means Christmas isn't far off. For us, buying thoughtful gifts just isn't feasible this year and with me in school I need projects that are quick to make! One of my gifting projects is rice heat packs. Not long ago, Paul hurt his back pretty badly. Long story short, I made him a rice heat pack and he loved it! That little pack helped his back so much during the day when he couldn't be on the muscle relaxants, and even now it helps with minor aches and pains or if my feet are really cold ;) We drew Nana and Paul's brother for Christmas this year (our family draws names for Christmas instead of everyone trying to gift everyone) and neither of them have a handy little heat pack, so these are going to be our gifts to them. I adapted the pattern in One Yard Wonders for the obi-inspired heat pack and simply took the heat pack part and the pocket and to make these. Total time - about 45 minutes for one (I'm a slow seamstress). If you want to try the same type of thing but don't have the book, Sew Mama Sew has a great tutorial for a darling set of heat pack goodies! It's a little more complicated, but super cute if you have the time. For a really quick heat pack Real Housewife has a longer wrap around rice heat pack that is amazingly easy to whip up! The best part, all these were made with stuff I had on hand! How's that for being frugal ;)

And this here is my little draft snake that I whipped together using Simple Sewing's easy peasy instructions. I sew on my dining table, sitting close to the window. It's been windy and rainy here and I noticed a chill draft cutting in while I was making the heat packs so using some scraps I had sitting out I made this little guy quick! These are so simple to make, cut your fabric 7" tall by how wide you want, or use scraps to get the width. Right sides together sew one short end and then the long end. Turn right side out and fill with rice or dried beans. Fold under the open short end and sew closed. Viola! No more drafts ;)

5.21.2010

The Past 3 Weeks


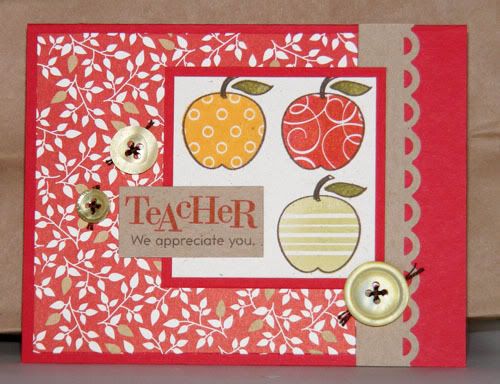
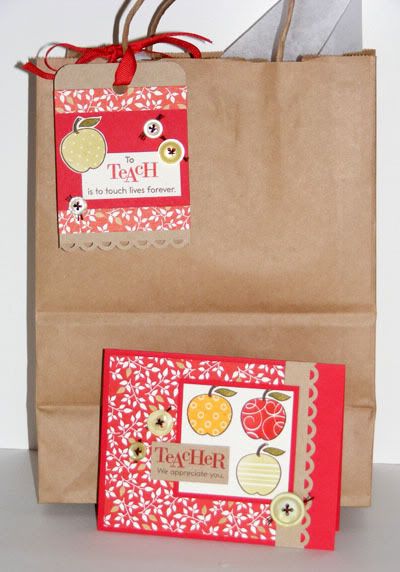
I hope everyone had a Happy Mother's Day and a great Graduation weekend! We've been so busy with family and celebrating, it'll be nice next week when things finally wind down for summer vacation! The first week of May was our week for Teacher Appreciation. I didn't get a chance to get it posted earlier and the pictures aren't great because I took them in a hurry, but here's the card I made for Caitlyn's teacher. Inside Caitlyn drew a picture of her teacher with a rainbow, clouds, and a happy sun inside and wrote a short sweet message. At the bottom I added a message from Paul and I. I was so pleased with how cute it came out! Mrs. F's favorite color is red so that made using red apples all the more fun! This was the first time I used this set for a teacher gift and I can just tell I'm going to be loving using it for teacher projects for years to come!


Here's the card and matching tag on the bag together. I love kraft bags and the really fun part is the quilt shop I frequent puts your purchase in these plain kraft totes so I not only get lovely fabric to play with but also a free gift bag to use later ;) As for us, we had a neurology appointment for Paul a couple weeks before graduation. While his drop-leg has been getting worse and he now wears a knee brace most days to help with that, he did have more sensation in his legs than he did at his appointment back in October which is a good sign. He also had slightly better balance and didn't fall over this time when he had to do some of the closed eye balance tests. Hopefully that means his injections are helping his system retain as much functionality as possible ;) We also got some good news about a new medication that's going through approval right now that's specifically for MS patients to help with walking. It's supposed to help with symptoms like drop-leg so Paul and I are excited for when the FDA approves it and he can try it out.


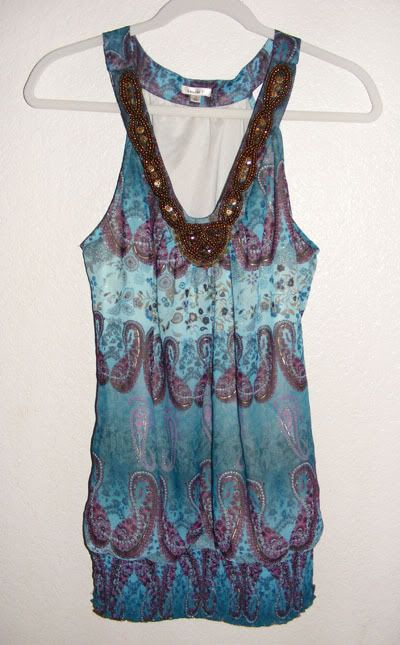
Mother's Day was fun for me. I got to be lazy and Paul did the dishes, vacuumed, and took care of the girls. Paul got me this gorgeous top, it looks lovely with my olive skin ;) Then we went to see Iron Man 2 and out to dinner. His sister spoiled us by watching the girls for 4 hours, so nice! Paul is finally graduated now with his bachelors, yay! He graduated with Honors in English Literature and hopefully now can take a little time off to write before he takes the GRE and heads back for more school to get his Masters, lol. It's strange to think he's been in school since before Audrey was born. She was born just before midterms his first semester.


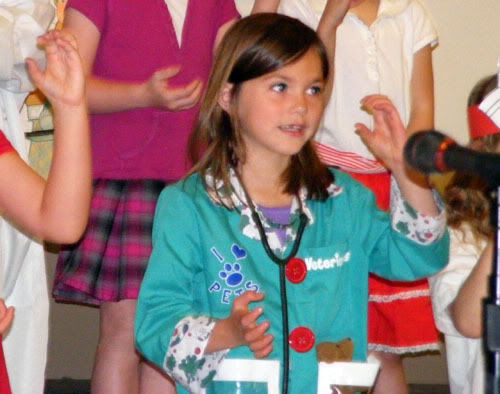
This week has been all about Caitlyn. Her class spent Monday and Tuesday getting ready for their program on Wednesday. The theme was 'When I Grow Up' and Cait was a Vet ;) It was SO cute! I can't wait to see more of these as she goes through school. And she was so hilarious, she really gets into the dance moves and has such an expressive face! We loved it especially the Macarena Month song and the First Grade song, she was really swinging her little hips and having a great time up there, lol. Thursday was the Teddy Bear Picnic, where they got to bring lunch and a stuffed animal for a picnic out on the lawn, and today they are doing a Reading Party. Tuesday they get to have a water party and then the next day we meet with the first grade teacher and she's done until fall! I can't believe it's been a whole school year already and that she's going to be in first grade, never mind that my girl is going to be 7! Crazy eh? Anyway, I have done a little crafting the past few weeks, very little but some none the less and I'll be posting those later on ;) I hope you enjoyed and have a fab Friday!

12.19.2009

First of the Holiday Baking

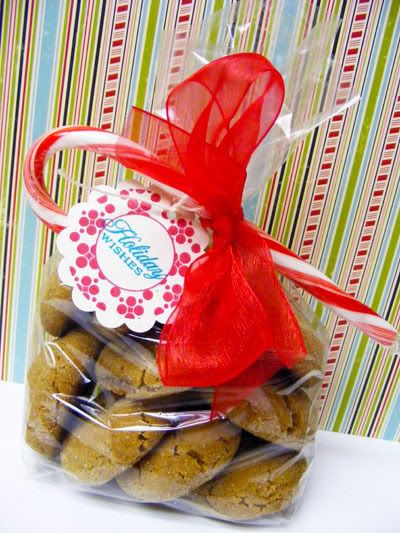
Paul had his last final Thursday - Yay! We invited a friend over for an easy going hang-out-to-celebrate eve and it was about midnight that night when I realized I hadn't baked the cookies I was planning to for Caitlyn's teacher yet. Tomorrow (or rather later that day) was the last day of school before Winter Break and I knew I wouldn't be up early enough in the morning to do the baking before school. Paul and Mark were still up for entertainment so they popped in a funny mocumentary called the Mighty Wind (same guy that did Spinal Tap and Best in Show). Inbetween the laughs (I absolutely LOVED Eugene Levy's character, he was too hilarious!) I baked up some of our favorite holiday ginger cookies because they are so easy to make, because they are delish, and because Cait's teacher is just too awesome to not bake cookies for. So at one in the morning I was finishing up baking a batch of these babies and after the movie I wrapped them up cute ;D For her teacher I used the last of my repurposing ribbon and one of the new tags I made a couple days ago. A simple candy dresses the plain cello bag up to look more holidayish since I ran out of the snowflake ones. I also wrapped up a couple more mini cookie bags for a couple of neighbors, one for Caitlyn's friend that comes over all the time. They don't go to the same school and she's actually in fifth grade which I suppose means she could be babysitting for me, lol. This is the first of much Holiday Baking to come. Most of it is planned for Monday and Tuesday because today is my B-day and I'm spending it out and about with my hubby and then being completely lazy ;) Hopefully lazy with a book because I've really been wanting some time to settle down and read.
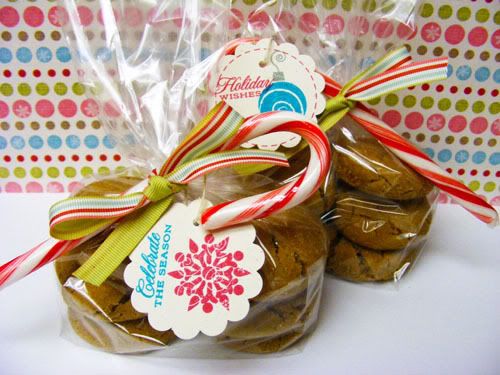


And I can't remember if I shared it last year, but in case you missed it or you just want to try them here is the recipe for these Ginger Cuties.


Softy Ginger Cookies

Ingredients:
3/4 C butter flavored shortening
1 C brown sugar
1 egg
1/4 C molasses
2 1/4 C flour
2 tsp baking soda
1 tsp ground ginger
1 tsp ground cinnamon
1/2 tsp cloves
1/4 C sugar in a small shallow bowl or dish

Directions: Cream together shortening, brown sugar, egg and molasses until well blended. Add in flour and spices. Mix until combined with spoon. Now it's time to get your hands dirty ;) Knead the cookie dough until everything is well blended. Roll dough into 1 1/2"- 2" balls then roll in sugar and place on an ungreased cookie sheet. Bake at 350 for 8-10 minutes, just until the cookies crack on the top. Cool on cookie sheet 10 minutes before removing. Enjoy and have a fantastic weekend!

12.18.2009

Tag Box + Tags

Supplies : Rustic Cream Cardstock; twine; 2008 Holiday Tags, Winter Swirls, and Borders and Corners Circle stamp sets by Papertrey Ink; Cranberry Button, Tulip Cardstock, Tulip and Ocean Ink by CTMH; 2" Scallop Circle Punch by EK Success; repurposed organdy ribbon; acetate

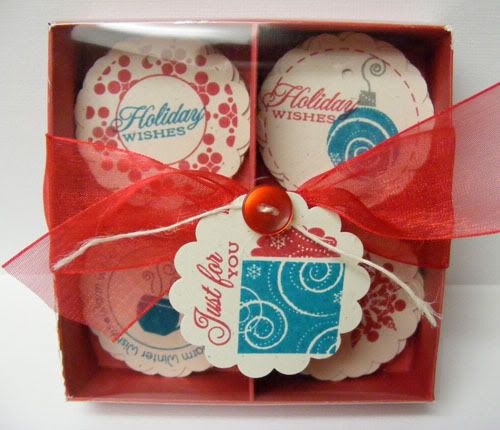
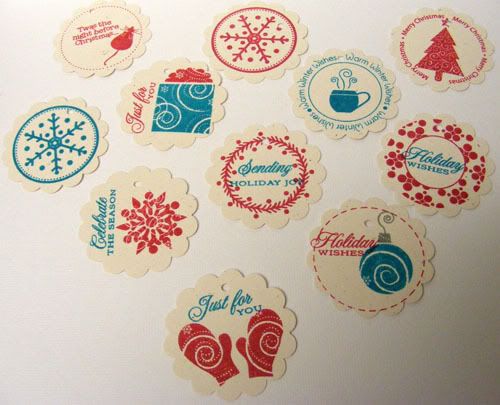
I don't know about anyone else, but I've been using tags like crazy this year! It's a good thing I've had so much fun making them ;) So I came across this tutorial for a tag box on Splitcoast and thought it would be perfect for all my tags, plus I would get to make more! I used one of my favorite color combos of red, blue, and cream; and my go to tag stamp set as well as the Winter Swirls which I hadn't really played with yet. On the back I stamped To and From and made a total of 40 tags with 10 quick and easy different designs. I made the box first, it came together a bit quicker than I thought it would, and then I worked on the tags. I punched out 2 sheets of 8 1/2" x 11 inch cardstock, you get 20 2" circles for each sheet. Then I stamped each design on 4 tags. You could make just 4 different tags or all one style tag. Wouldn't this make a cute gift too? To finish off the box I used more repurposed organdy ribbon. Caitlyn's class had done a fundraiser with a local baking mix company. One of the sets I ordered for us was actually a gift set so I've been using the ribbon for other stuff since I'm planning on making those particular goodies for us - pecan pie bars and apple crumb cake - yum! Below are the tags just for fun ;D Enjoy and have a fabulous Friday!

12.14.2009

A Christmas Story and a Stocking Stuffer

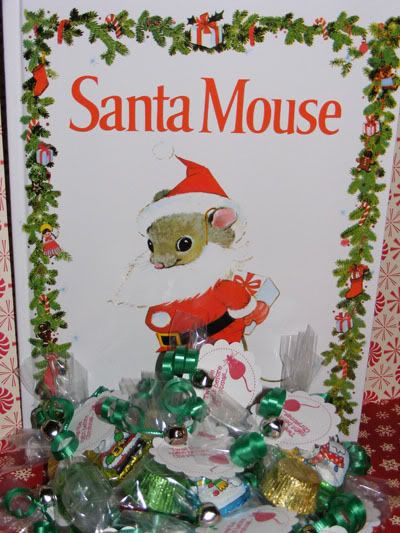
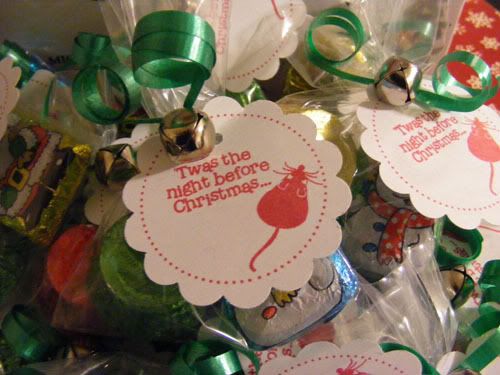
In Caitlyn's class they are doing a Christmas Story each day until Winter Break. Our room mothers set it up so that one parent comes in and reads a Christmas Story. Then they add something to each of the childrens' stockings that they made from yarn and paper the week before. It's so fun for the kids. I volunteer Thursdays and Fridays so I've heard plenty about it and how excited the kiddos have been since they started this last Monday. My day is today and this is what I put together for them. In case you're wondering, the story is about a little Mouse without a name who on Christmas Eve suddenly wonders if anyone ever thinks to give Santa a present. So he gets out his best cheese, the one he's been saving and wraps it up to give to Santa. The little mouse wakes up to Santa holding him and thanking him for such a thoughtful gift. He asks the mouse's name but the mouse confesses that he doesn't have one. Santa decides that he needs such a generous helper and gives him a suit, boots, even a beard and calls him Santa Mouse. It's a cute short story and I loved how it focused on the mouse giving to others. Our stuffers don't have to match the story but when I brought the book home I realized my little mouse stamp would go perfectly with it. The stuffer I made is simply a mini cello bag with a couple chocolate treats. I made sure each baggie got a figure treat whether it was Santa or a snowman and then tied it with some simple curling ribbon. I punched out the tags and stamped them all with the mouse stamp from the 2008 Holiday Tags collection by Papertrey Ink. It's my go-to stamp set for Christmas goodies and present tags if you couldn't tell ;D I added a single jingle bell and then curled the ribbon up. They look so cute all together! I know the kids will probably only care about the candy, but I can hope that when they pull these out of their stockings they'll remember the Santa Mouse story. Thanks for visiting and have a marvelous Monday!

12.12.2009

Cozy Campy Cocoa

Supplies: Rustic White Cardstock, Ocean Tides Ribbon, Jute, Warm Happiness and 2008 Holiday Tags stamp sets by Papertrey Ink; Mini Cello Bags; Twilight Ink by CTMH; 2" Scallop Punch by EK Success; Mug from Pier 1;

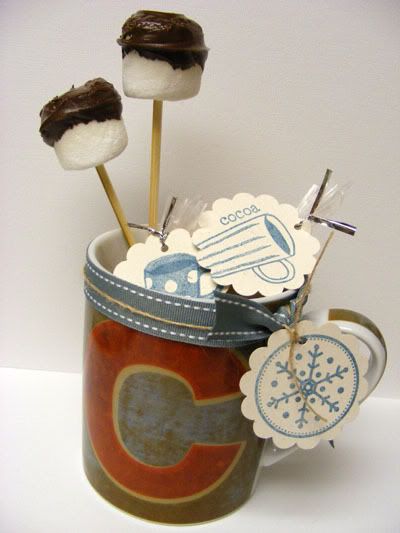
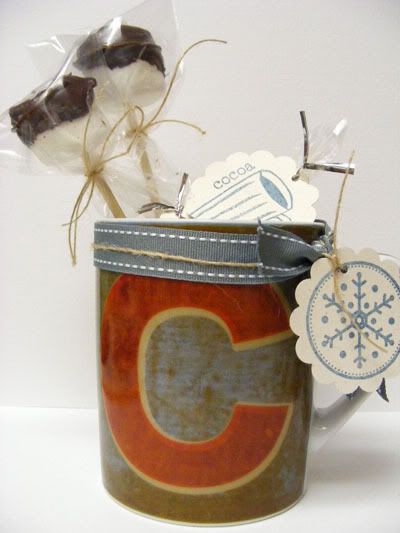
Here's another take on the mug gift set I posted a couple days ago. I remembered seeing some chocolate dipped marshmallows on Nicole Heady's blog a while back and thought it would be so fun to try. I got this fun Monogram mug from Pier 1 and the colors instantly made me think of camping, roasting marshmallows in the fire and making s'mores. I made more of the fun cocoa samplers and then added the marshmallows dipped in melted chocolate to the set instead of candy canes. In fact I had a little extra chocolate so I got to taste test some other marshmallows and boy are those little guys yummy! Marshmallows like to get stale in the air so if you aren't giving the gift right away to you can wrap them really easily with some of the mini cello bags and some twine or ribbon like I did here on the bottom post. Wouldn't you love to get a fun gift like this! This one is for Paul's brother. He's so outdoorsy and into camping that when I saw the mug I knew it would be perfect and the dipped marshmallows seem to just complete the campy s'more theme ;D I hope you enjoy and have a wonderful weekend!
12.11.2009

Tea or Cocoa

Supplies : Rustic White cardstock, Warm Happiness, 2008 Holiday Tags, and Everyday Classics stamp sets by PTI; Winter Cello Bags; Twirling Ribbon; Jingle Bells;

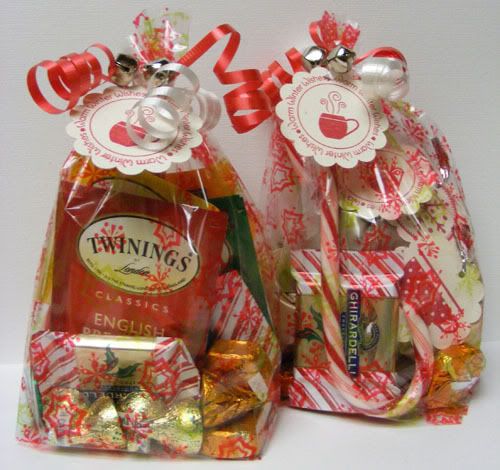
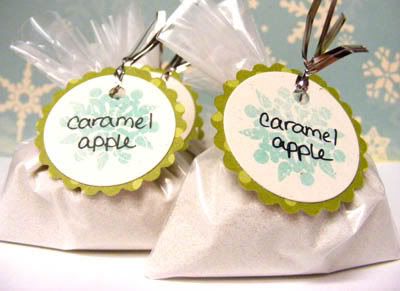
We have a pretty large extended family on Paul's side so instead of buying gifts for each person we do a Secret Santa where we each draw a name of someone else in the family. While that works wonderfully for us I like to try and make a little something for everyone that is inexpensive but still a fun treat to receive. I usually bake goodies but there are some instances where that isn't really feasible, like when mailing gifts (this is only because I'm ultra picky and want my treats to be received no later than a day after I bake them so they are as fresh and tasty as possible ;D ). So I made some fun gifty bags full of little goodies for the family members we mail out to. Using the same concept as the darling mug I posted yesterday I created a couple samplers, one tea and one hot cocoa. Each baggie has various flavors of tea or cocoa and then a bunch of fun chocolates like Irish Creme Kisses and Ghiradelli Peppermint Bark along with some candy canes to complete the set. One of those simple tags with the name of the recipient on the back along with a couple jingle bells finishes off the gift. I love making these because I get to share some of the little things I enjoy and they are easy to mass produce!

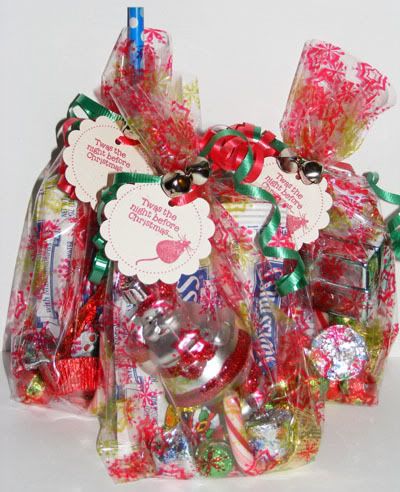
For all our nieces and nephews I made little stocking stuffer gifty bags whether they live near or far. I know the girls always feel extra special when another relative sends something just for them, so I wanted to do that for the kiddos in our family. Each baggie comes with a single serve pack of hot cocoa with marshmallows, a candy cane for stirring, and lots of fun chocolate goodies like the crispy rice santas and the funny chocolate christmas balls, all goodies my own kids love. This year I added one non-edible item that would be fun for them to use, the kiddos in school or starting school next year all got winter themed pencils with an eraser and the littler ones got a non-shatterable ornament to hang on their tree. One of my girls' favorite things to do is hang and rehang the ornaments on their trees so I thought that would be a fun thing for them to share with their cousins. And you'd be surprised just how much easier having a fun pencil makes convincing your Kindergartener to do their homework! I made ten of these little baggies and Caitlyn was so excited, especially since they are also doing stockings in her class right now. Everyday this week she has been asking about the stockings and the stocking gifts and when I'm doing the Christmas story and stockings in her class. This coming Monday I keep telling her but still she keeps asking, lol. So there's a little of what I'm doing this holiday season en masse for our big family ;D Thanks for visiting and have a fab Friday!